
Beach access equipment works as a system only when each item has a clear job at a reviewed route. A wheelchair, walker, or mat can be useful alone, yet a poor handoff between them can leave staff improvising at a gate or shoreline. This guide helps a hypothetical coastal buyer compare a chair-plus-route package without claiming that any single product makes a site legally compliant. If you are buying beach access equipment, begin with interfaces and owners, not a catalogue count.
What should a beach access equipment mix solve?
A beach access equipment mix should connect arrival, route movement, rest, and any approved water boundary through clear equipment roles. It should show where venue infrastructure ends and supplier or operator responsibility begins.
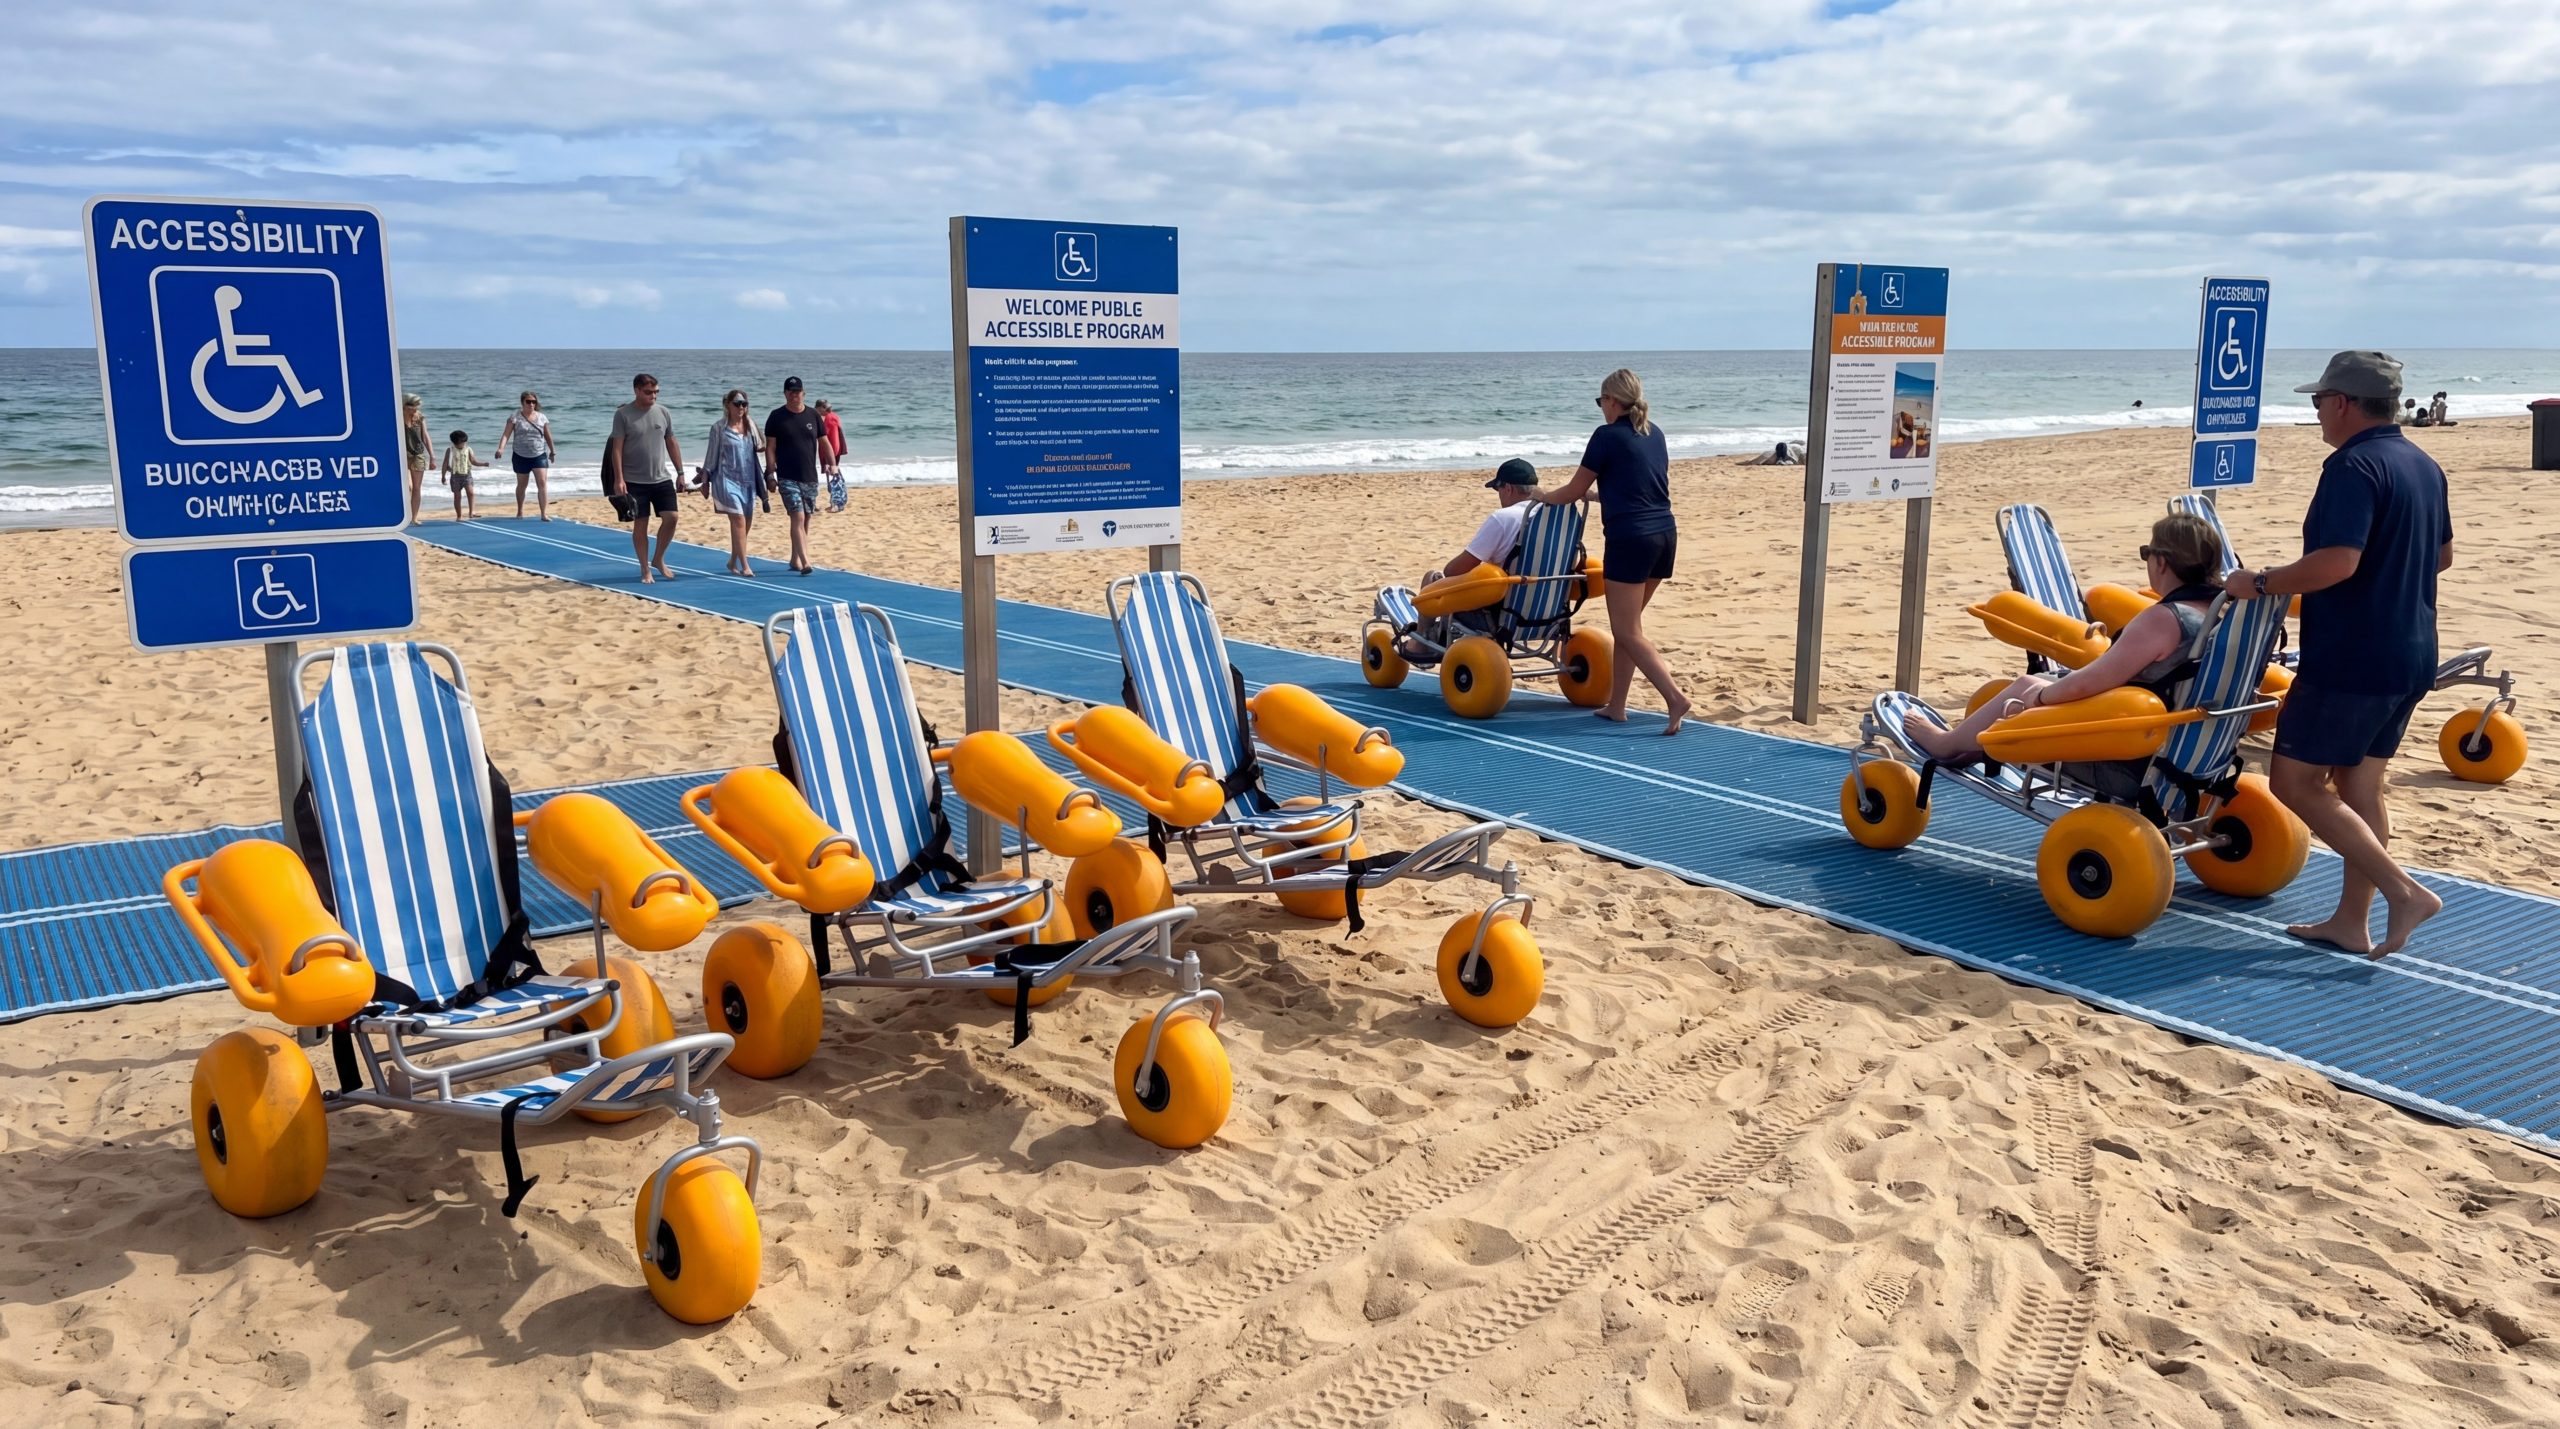
Write the route as a sequence of interfaces. A guest may arrive on a hard surface, wait near a mat, use a chair on a different surface, and meet an attendant near the shoreline. Each route change needs a responsible person and a record of what has been accepted. A chair or mat alone cannot answer every route question or create a legal opinion for a venue.
Start with the handoff: describe what changes at each route boundary before comparing brands or colours.
- Name the starting surface and destination surface.
- Assign chair, walker, mat, and staff roles separately.
- Mark waiting or rest space near each busy point.
- Record the boundary where the venue’s route review ends.
Turn the route into a buyer brief
Use a short route sketch plus a role list. It gives suppliers the same context and helps a venue spot missing work. WHO’s assistive technology fact sheet describes assistive technology as products plus related systems and services. For this brief, review the chair, route surface, and handoff together.
| Mix question | Record | Decision owner |
|---|---|---|
| Start point | Surface, queue, and handoff | Venue lead |
| Device role | Chair, walker, or other assigned use | Equipment lead |
| Route role | Mat or venue surface responsibility | Site lead |
| End point | Rest, water boundary, or return | Duty manager |
Action: ask each supplier to answer the same route brief and list every exception beside its affected interface.
Key takeaway: a useful mix connects route changes with people, equipment, and decisions.
How should a buyer match chair, walker, and mat roles?
A buyer should match each item to a distinct task: a chair supports seated movement, a walker supports a different mobility pattern, and a mat forms part of a reviewed route surface. Do not treat a walker as a spare chair or a mat as a substitute for staff.
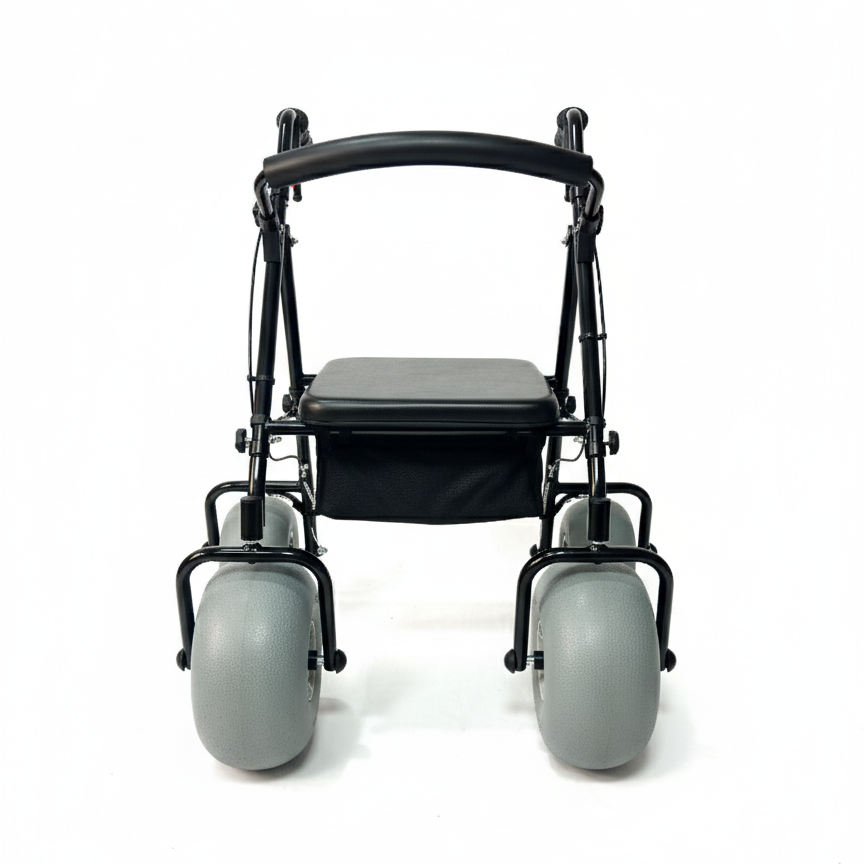
Review the role before reviewing quantity. A beach wheelchair may need an attendant under an event plan, while a beach walker needs its own user and route review. A mat may help a route change yet still require venue setup, inspection, and storage ownership.
Here is the practical split: attach one intended task and one custodian to every line item.
- Chair: identify seated transport or shoreline role.
- Walker: define its separate mobility and rest use.
- Mat: identify start, end, placement, and venue owner.
- Staff: define who gives, pauses, and receives each handoff.
Keep roles separate in the quotation
Ask suppliers to show equipment, accessories, route items, and service tasks in separate lines. This makes omissions visible without turning a quote into a legal checklist. If a proposed item has more than one use, write each use as a separate review question.
| Item | Role to state | Question before approval |
|---|---|---|
| Chair | Seated route or water-edge task | Who supports release and return? |
| Walker | Walker-specific mobility task | Which route and rest point apply? |
| Mat | Surface change or route section | Who places and receives it? |
| Handoff staff | Information and custody | Who pauses an uncertain release? |
Action: reject any quote that combines chair, mat, and service work into one unexplained quantity.
Key takeaway: role clarity prevents a convenient product list from becoming an incomplete route plan.
What route interfaces need acceptance before purchase?
Route interfaces need acceptance at the start, surface change, turning area, rest point, and approved end boundary before purchase approval. The buyer does not need a grand site claim; the buyer needs evidence that each route change has an owner and a decision.
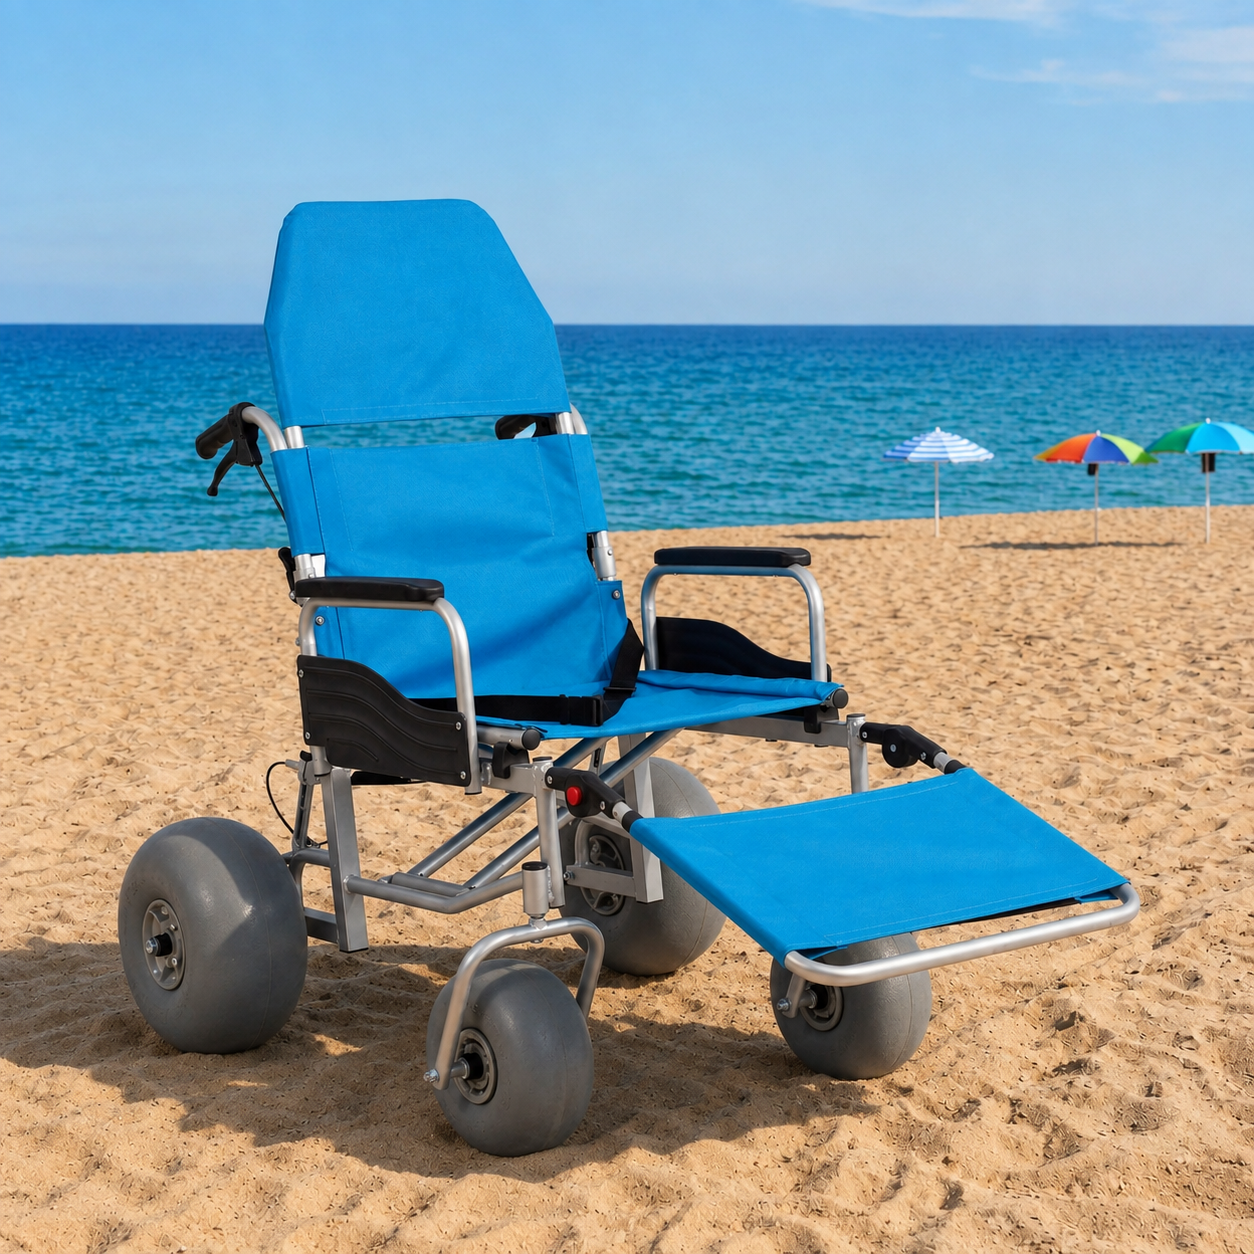
Describe what staff can observe. A doorway or boardwalk turn may need a clear route review. An all-terrain beach wheelchair page can help identify a product category, but it cannot approve a specific venue route change from a photograph. Ask for the model information needed for the site’s own review.
The route decides the purchase: accept interfaces, not slogans.
- Identify where a device begins and ends its supported task.
- Mark every surface change on the route sketch.
- Note where a queue, rest point, or attendant stands.
- Record unresolved transitions as open items.
Use an interface acceptance walk
Walk an empty route with the venue lead and equipment lead. Note gates, turns, waiting points, storage paths, and the end boundary. Keep a separate field for items requiring a qualified reviewer. This is an operational acceptance record, not a certification of the site.
| Interface | Acceptance question | Open item owner |
|---|---|---|
| Entry | Can the handoff start here? | Venue lead |
| Surface change | What device or route item applies? | Equipment lead |
| Turn or wait | Where does staff stand? | Event lead |
| End boundary | Who receives the user or unit? | Duty manager |
Action: make every open route change visible in the purchase file before releasing an order.
Key takeaway: interface acceptance gives a mixed equipment package a usable route context.
How should width, turning, and waiting space be reviewed?
Review width, turning, and waiting space with the actual model information and actual venue path. A catalogue picture cannot reveal a gate queue, a tight turn, or a resting point that blocks other visitors. Record dimensions supplied for the chosen model, then have the venue confirm how its path behaves.
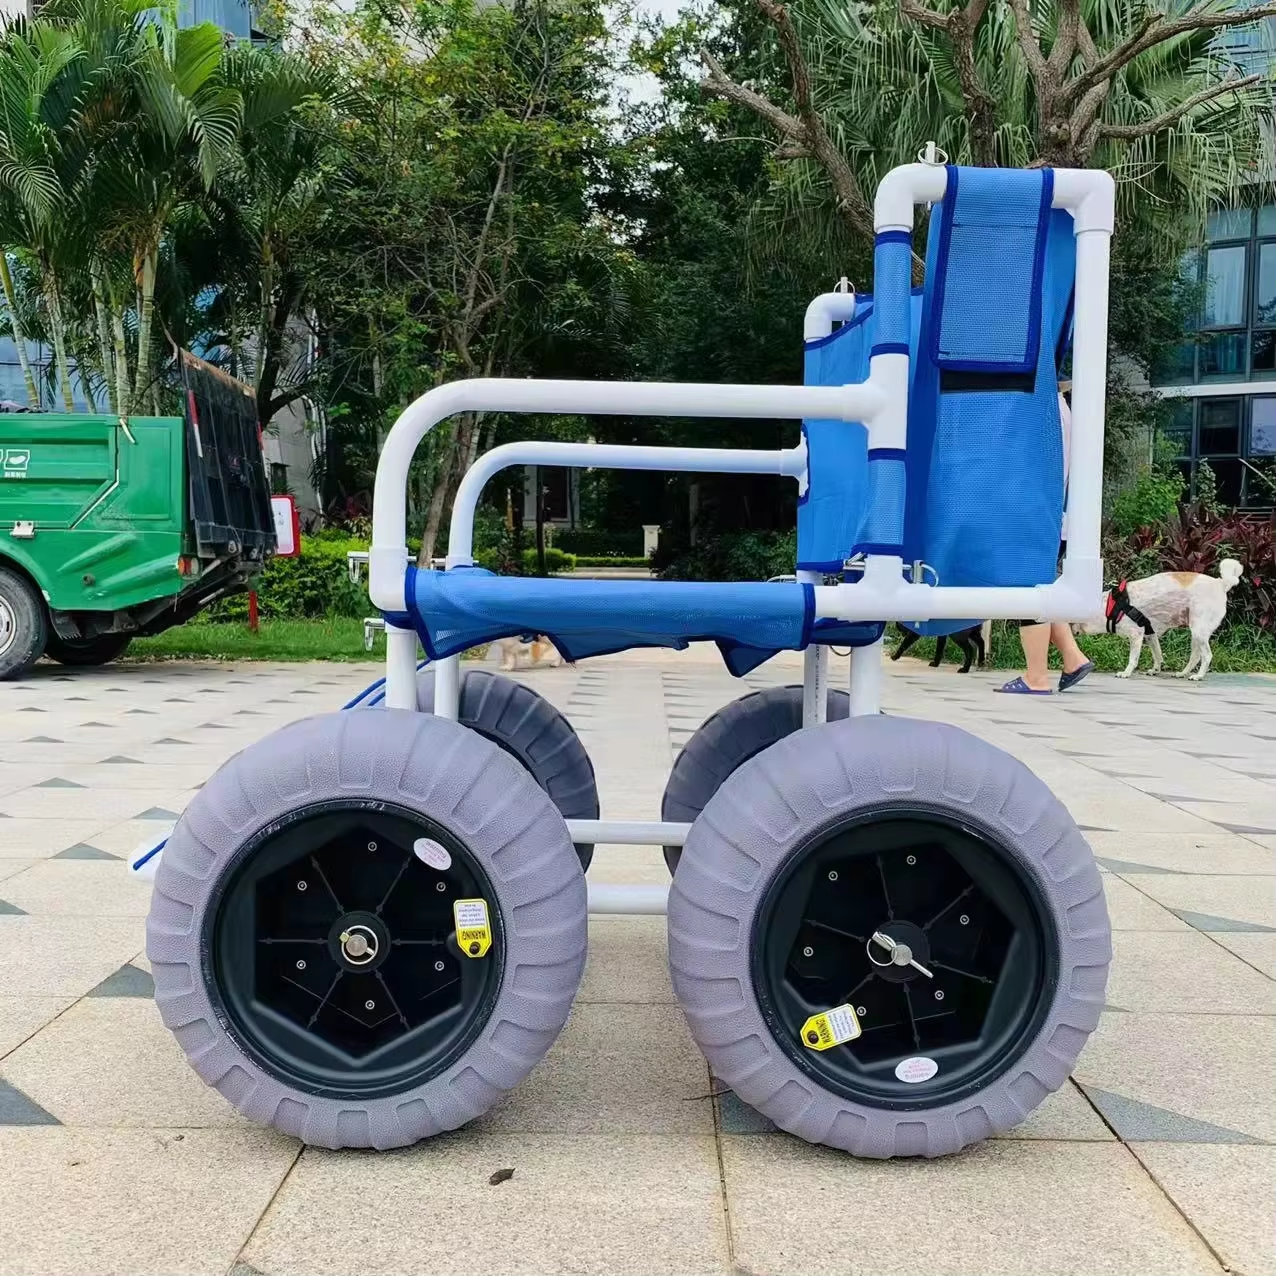
Separate three observations: passage, maneuvering, and waiting. A lightweight beach wheelchair may suit a handling brief, yet “lightweight” does not answer a route width or personal-fit question. Use model-specific information and trained review where personal fit or safe use remains uncertain.
Give the route breathing room: a clear waiting point often matters as much as a clear passage.
- Note the narrowest passage on the proposed route.
- Mark where a chair or walker needs to turn.
- Keep a waiting position outside active movement.
- Record who confirms the route after equipment selection.
Compare the path with the selected model
Put venue observations beside supplier information, not in separate files. If a field cannot be confirmed, leave it open. Never replace a missing model detail with a guess based on a similar chair.
| Review area | Venue record | Supplier response |
|---|---|---|
| Passage | Narrowest route point | Model-related information |
| Turning | Tightest maneuver area | Handling guidance |
| Waiting | Queue or rest position | Staff-space notes |
| Fit question | Qualified review needed? | Information supplied |
Action: hold approval when a selected model and route observation still disagree.
Key takeaway: route space becomes useful evidence only when it is paired with the chosen model.
Which water-edge tasks belong to the chair?
Water-edge tasks belong to a chair only after the buyer names the approved boundary, support role, and return path for that model. A floating chair, shoreline chair, or manual chair may have different intended uses; product names alone do not settle them.

Define where a handoff starts and stops. If a floating water beach wheelchair appears in a mix, keep its water-edge task separate from mat placement and general beach movement. The attendant, venue boundary, and model instructions should meet in one written review.
Keep the boundary visible: water-edge use needs a named limit, not a broad promise.
- State the approved start and end points.
- Name the attendant or operator role.
- Record what route item supports the approach.
- Mark return and storage ownership separately.
Write a water-edge handoff line
Use one line in the brief for the water boundary. It should identify the responsible person, the model under review, and any question still open. Do not write a generic statement that a chair is suitable for every user or every water condition.
| Water-edge field | What to write | Who confirms |
|---|---|---|
| Boundary | Start and end point | Venue lead |
| Equipment | Model and assigned role | Equipment lead |
| Support | Attendant or operator | Duty manager |
| Return | Route back and receiver | Return lead |
Action: keep any unreviewed water-use question out of the public equipment promise.
Key takeaway: a water-edge device needs a bounded task and a prepared return, not a vague “beach use” label.
How should staff coordinate a shared handover?
Staff should coordinate a shared handover through one release point, one information script, and one record that follows the equipment. The venue team can own the route while an equipment lead owns identity and condition. Neither role should silently absorb the other’s decisions.

Give staff a short sequence: greet, confirm the assigned role, explain the reviewed boundary, release, and record return. The new floating beach wheelchair page may support product discussion, but a page cannot replace a venue handoff script or trained review.
One record beats three memories: keep release, pause, and return in the same event or site file.
- Route lead confirms the path status.
- Equipment lead confirms model identity.
- Attendant gives the approved handoff.
- Return receiver closes the custody record.
Give every role an escalation line
An escalation line tells staff where a fit, route, or condition question goes. It also tells them what to do while waiting: hold release, move to a waiting point, or close the task. This small detail prevents a friendly helper from improvising a technical answer.
| Question type | Hold action | Escalation owner |
|---|---|---|
| Route change | Pause release | Venue lead |
| Fit concern | Hold and refer | Qualified reviewer |
| Condition mismatch | Hold unit | Equipment lead |
| Return gap | Keep record open | Return receiver |
Action: rehearse the escalation line with every person who may stand at the handoff point.
Key takeaway: coordinated roles protect the guest and the record without pretending staff have identical authority.
What storage and care details shape the mix?
Storage and care details shape the mix because every added item creates another receiving, storage, and closeout task. The buyer should record where equipment waits, who receives it, and which approved instructions govern care. Do not invent cleaning, drying, or seawater procedures from a photograph.
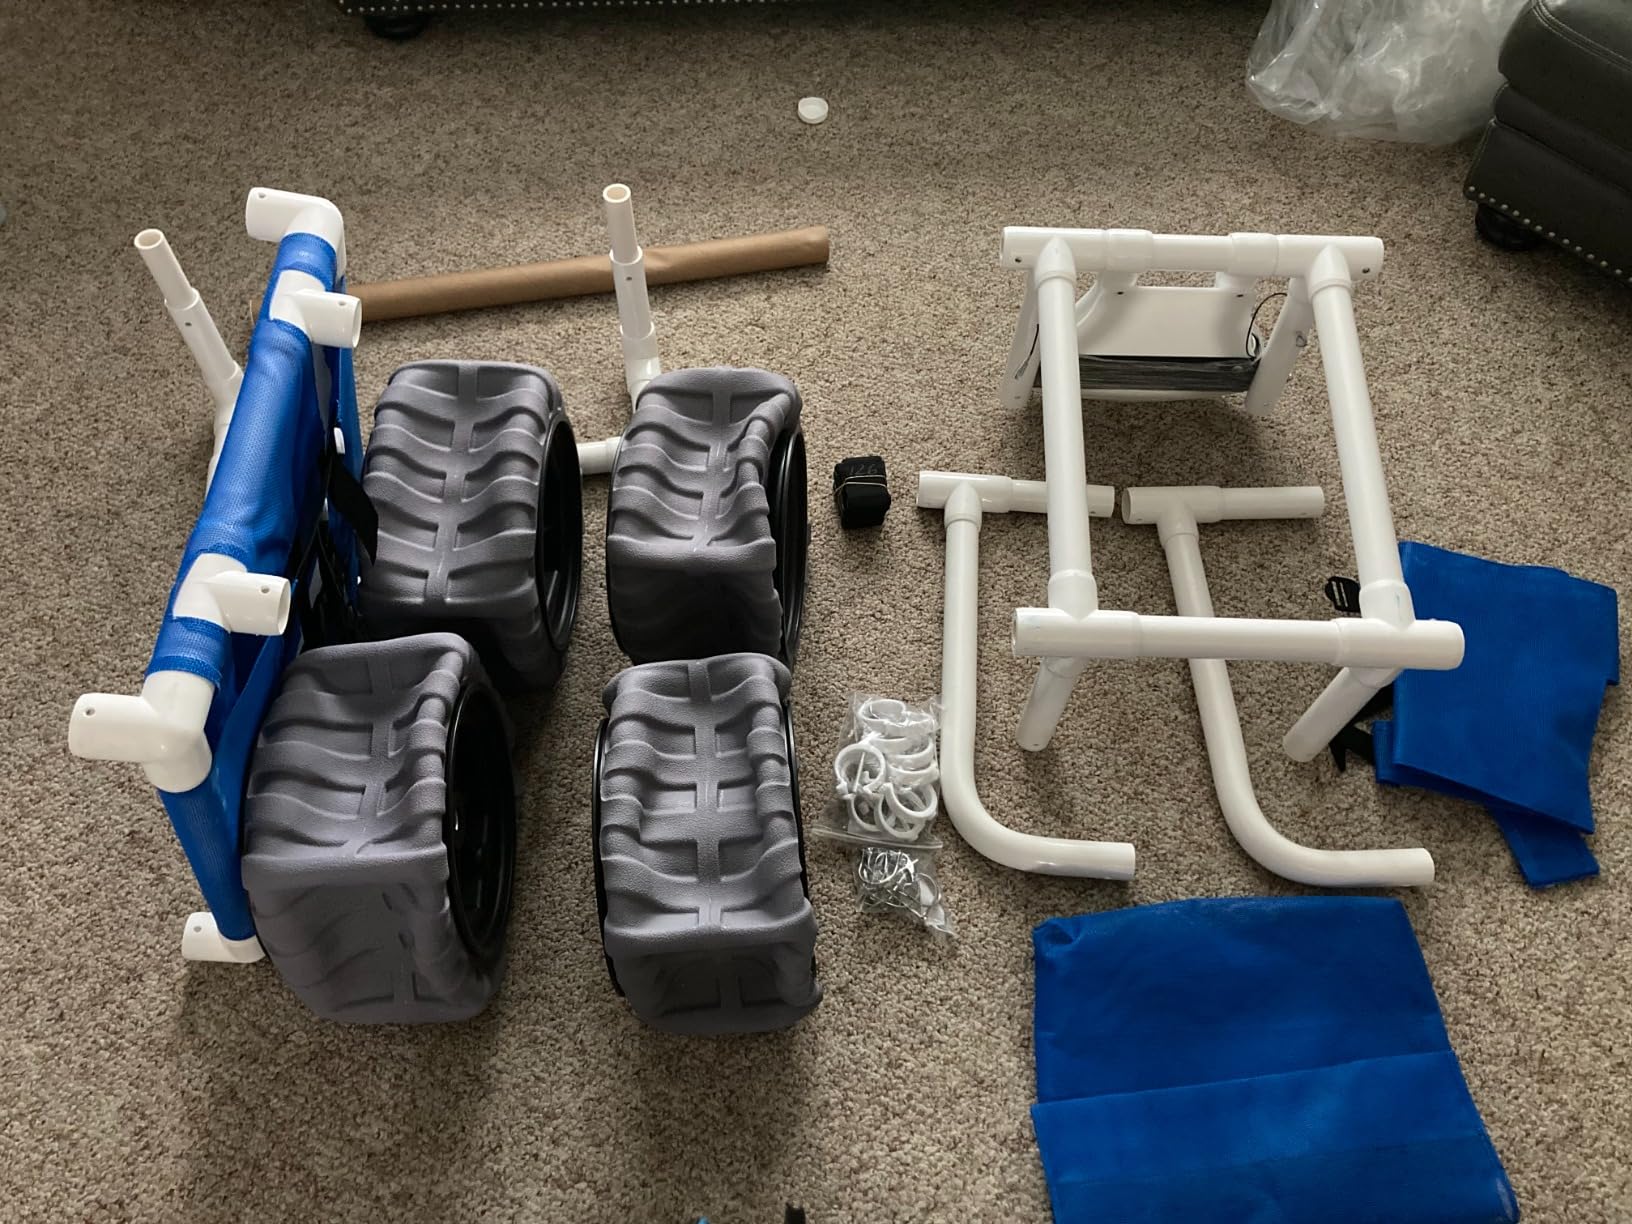
Separate daily event storage from long-term asset storage. A route mat may return to a venue store while a chair goes to an equipment custodian. The beach wheelchair user manual can be a supplied reference, while model-specific questions still need the responsible reviewer.
Storage is part of the mix: choose a package that staff can receive, identify, and put away.
- Name the temporary staging area.
- Keep loose items tied to their unit or route role.
- Record who accepts equipment after use.
- Keep care questions open until approved instructions answer them.
Map custody after the route
Draw a custody line from supplier or venue receipt through handoff, pause, return, and storage. If that line breaks, the buyer should ask who owns the missing step. A simple custody map often removes more risk than an extra accessory.
| Custody point | Record | Owner |
|---|---|---|
| Receipt | Package and unit identity | Receiving lead |
| Staging | Location and condition | Equipment lead |
| Return | Time and open issue | Return receiver |
| Storage | Destination and access | Venue custodian |
Action: approve added equipment only after its custody and care owner appear in the same brief.
Key takeaway: a mix remains manageable when every item has a home after the route.
How should buyers handle model-specific limits?
Buyers should handle model-specific limits by keeping supplied information, venue observations, and qualified review in separate fields. A broad product description may help shortlist an item, but it cannot answer every fit, route, or water-use question.
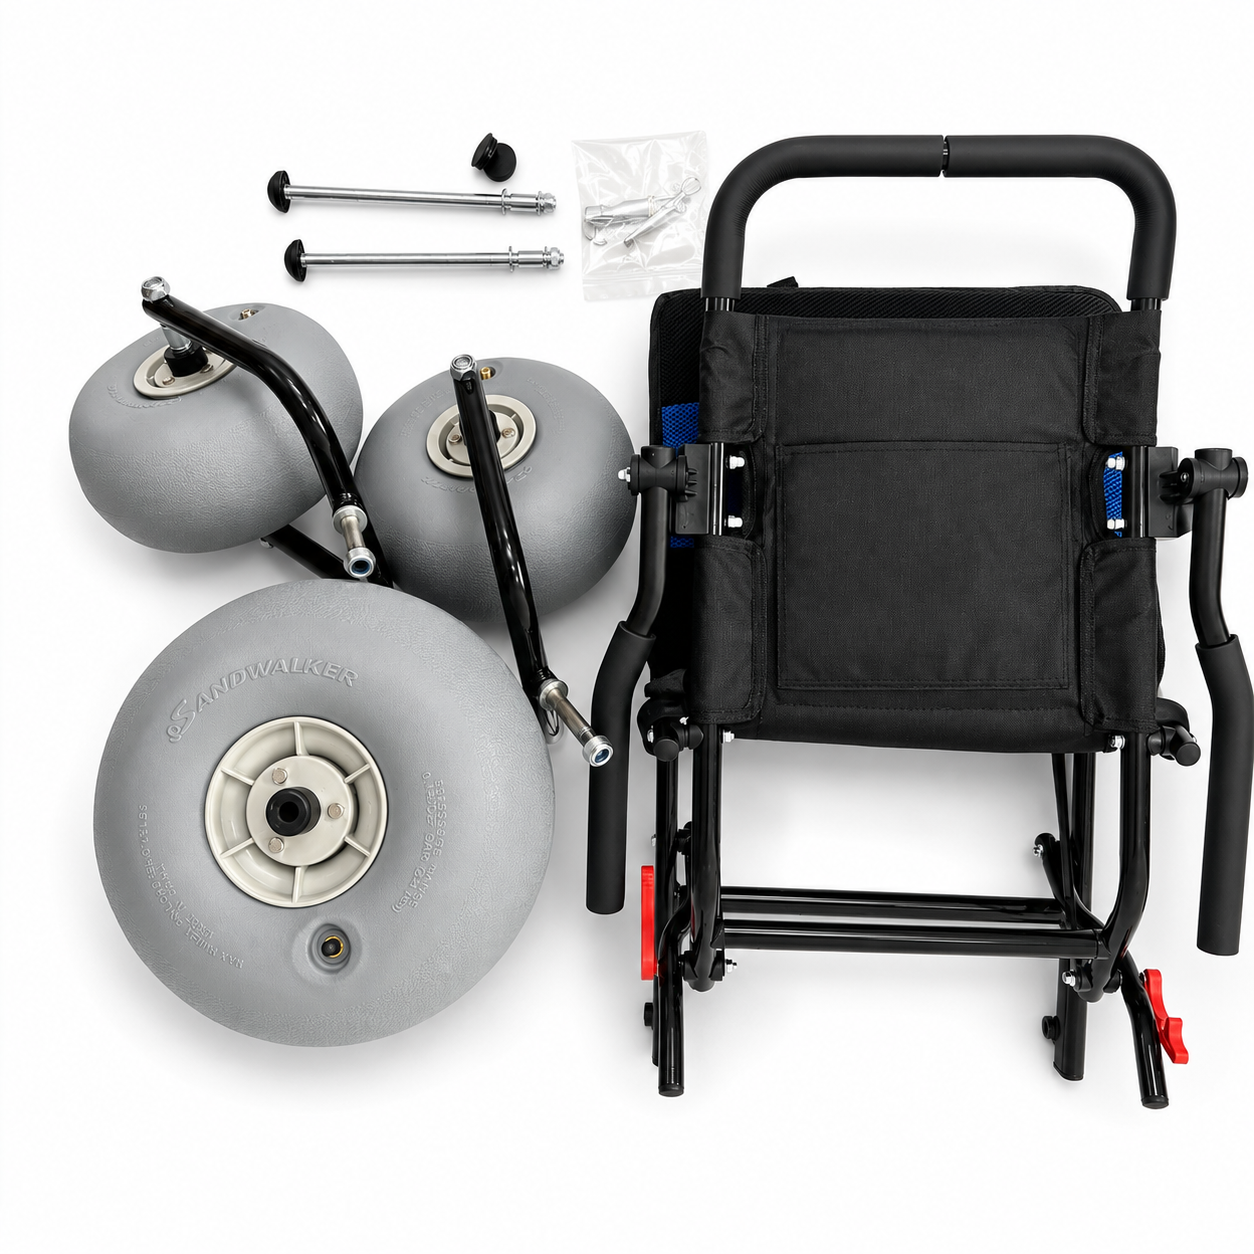
Ask for the exact model identity, approved use information, relevant instructions, and known open questions. Do not convert a visible feature into a performance claim. A photo may show wheels or a frame; it does not prove capacity, warranty, certification, or route approval.
Keep the evidence in lanes: supplied facts, venue observations, and unresolved review should never share one unlabeled note.
- Copy exact model and revision details.
- Link each claim to the supplied source.
- Mark a missing answer as open.
- Assign personal-fit questions to a qualified reviewer.
Build an exceptions register
An exceptions register can be short. Give each line a question, owner, due point, and release effect. If the answer changes the route or the product choice, keep the order on hold until a responsible person decides.
| Exception | Owner | Release effect |
|---|---|---|
| Model detail missing | Supplier contact | Hold affected line |
| Route interface open | Venue lead | Hold route approval |
| Fit question open | Qualified reviewer | Hold personal release |
| Care instruction unclear | Equipment owner | Hold care sign-off |
Action: do not close an exception with a similar model, a sales phrase, or a guess.
Key takeaway: model limits stay useful when uncertainty remains visible to the person who must decide.
What should an acceptance record contain?
An acceptance record should connect the approved mix with its route, roles, model identities, open items, and handoff owner. It should show what the buyer accepted on that date, not rewrite every possible use of a product.
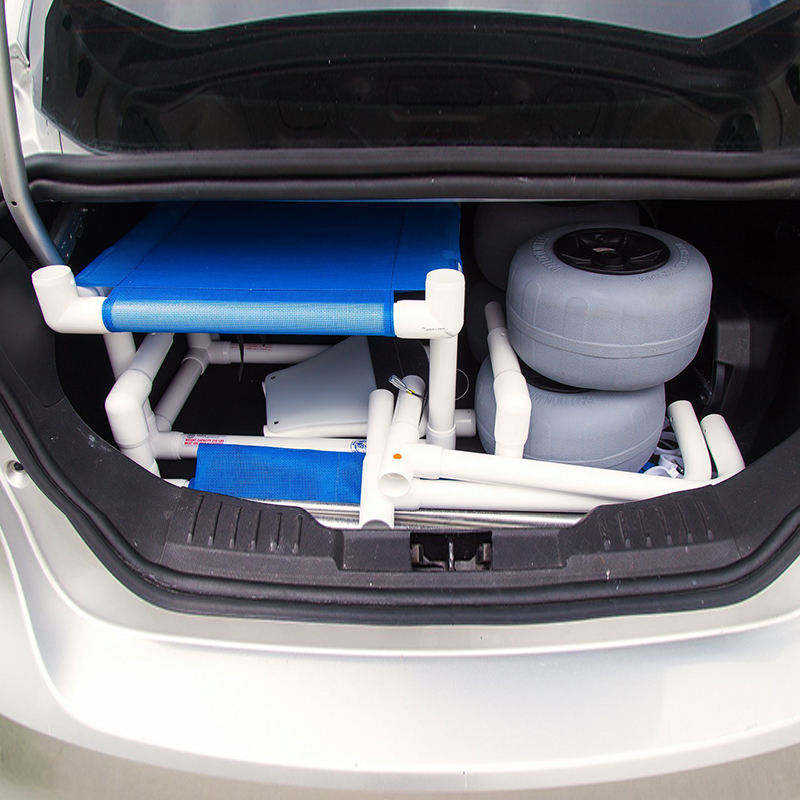
Use one record for the package and attached route sketch. Add the final supplier response, any qualified review, and venue sign-off. Keep observations distinct from marketing claims so a later team can tell what was actually accepted.
A clean record answers one question: what exactly did this buyer accept, for which route, under which owner?
- Package and model identity.
- Route interfaces and station roles.
- Approved use and unresolved questions.
- Receiving, storage, and return owners.
Make acceptance readable at handoff
Use short fields that a duty manager can read during a briefing. If a field needs a long explanation, attach the source and keep a plain-language summary in the record. The record should help a new staff member find the next action without guessing.
| Record section | Minimum content | Check owner |
|---|---|---|
| Mix | Item, model, and role | Buyer |
| Route | Start, interfaces, and end | Site lead |
| Staff | Release, pause, and return owners | Duty manager |
| Open items | Question, owner, and status | Buyer |
Action: have one person read the acceptance record aloud before release and correct any ambiguous line.
Key takeaway: acceptance is useful when a new person can act from it without opening five unrelated files.
How can a buyer compare equipment mixes fairly?
A buyer can compare equipment mixes fairly by giving every option the same route brief, role questions, evidence fields, and closeout test. Count only what the team can identify, hand over, store, and review.
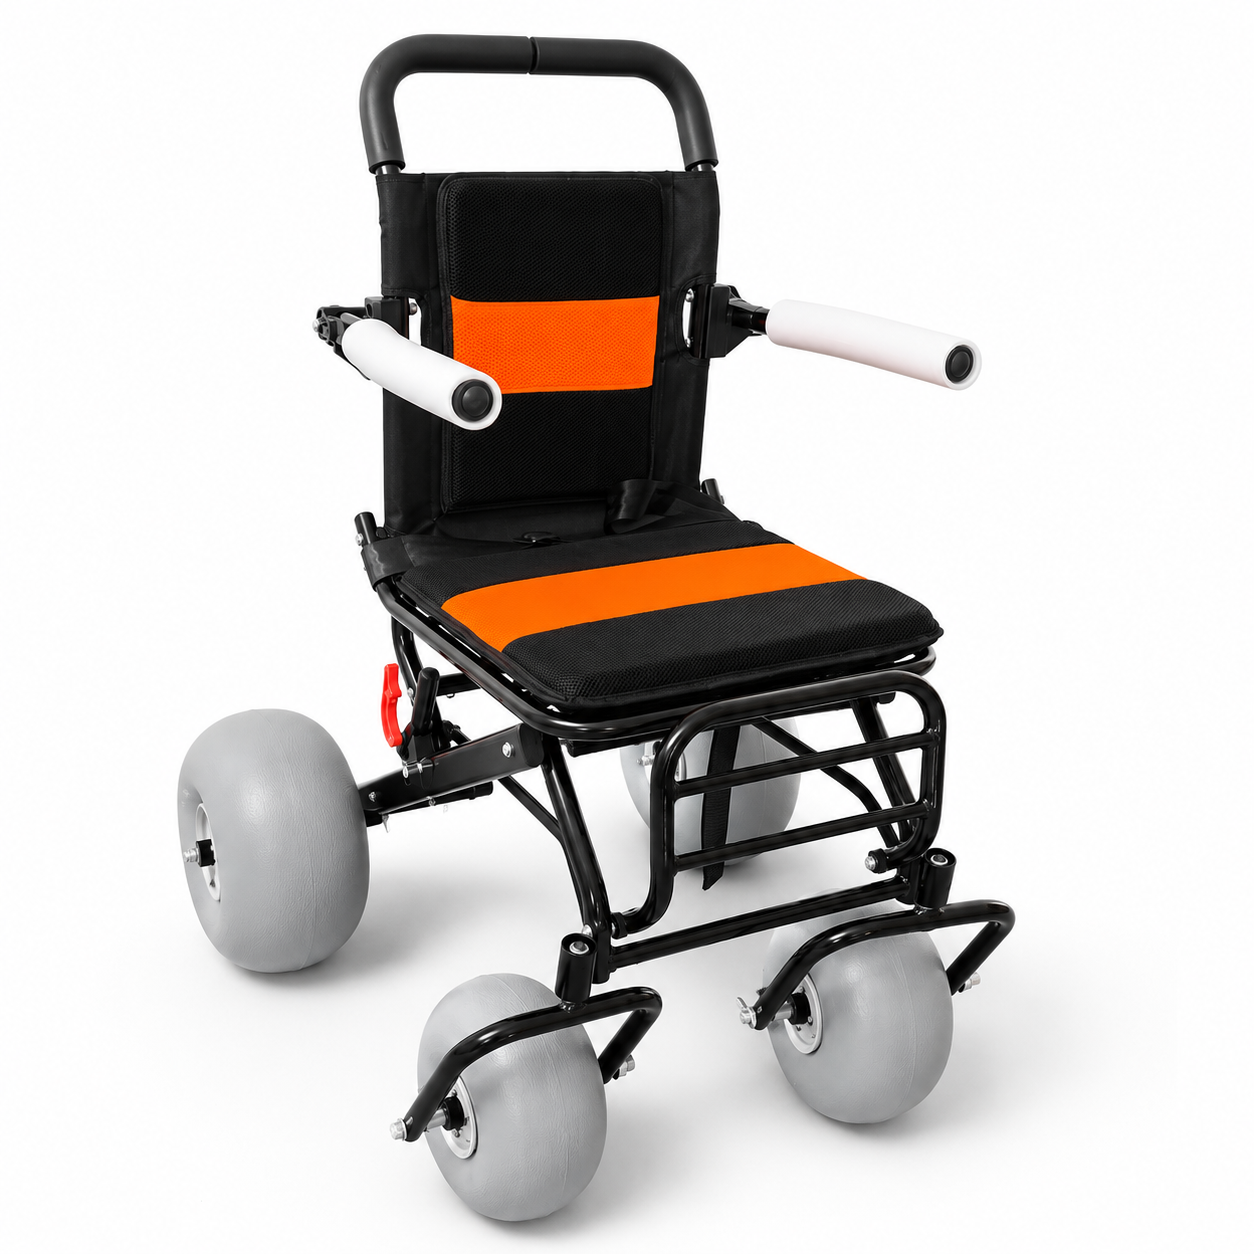
Use a status of accepted, open, or unsuitable for this brief. Do not turn it into a universal product rating. A smaller package may work better when route boundaries and staff ownership are clear.
The fair comparison is operational: give each option the same questions and let evidence carry the weight.
Decide with the same five questions
Ask whether each option identifies the start, handles each route change, assigns a trained reviewer where needed, and closes custody at return. If one answer remains open, show that open item beside the option rather than hiding it in a note.
- Does every device have one stated role?
- Does every interface have an owner?
- Can staff explain the route boundary?
- Will the team record a pause or exception?
- Does the venue receive and store every item?
Action: choose the mix whose open items have named owners and whose handoffs staff can explain. For a route-specific equipment question, contact us with the brief and the model identity.
Key takeaway: the best mix is the one that fits a real route, clear roles, and an honest closeout record.
Q1: What counts as beach access equipment?
It can include a beach wheelchair, walker, route mat, handoff materials, and the people or records needed for a defined route. The mix depends on the venue and intended task.
Q2: Does a beach mat make a site accessible by itself?
No. A mat is one route element. The venue still needs its own route review, role assignment, and any applicable legal or operational review.
Q3: Should a walker and wheelchair share one handoff rule?
No. Give each device its own intended role, model information, user review, and return record.
Q4: Who approves a personal-fit question?
A qualified reviewer should handle personal fit or safety questions. Staff can hold release while that review remains open.
Q5: What should a buyer keep after delivery?
Keep the approved mix, route sketch, model records, exceptions register, handoff roles, receiving note, and storage owner in one file.