
Better all-terrain beach wheelchair route planning begins with a complete path from storage to sand, not with a chair parked at the shoreline. Resort, park, rental, and municipal teams often manage mixed surfaces, narrow gates, visitor traffic, soft sand, changing tides, and distant cleaning points in one service day. A capable chair still needs a route that staff can inspect, explain, pause, and repeat. This article gives B2B teams a practical method for mapping access points, matching surfaces, setting handoffs, locating staging areas, responding to site changes, and recording route problems without making legal or performance claims.
Where should route planning begin?
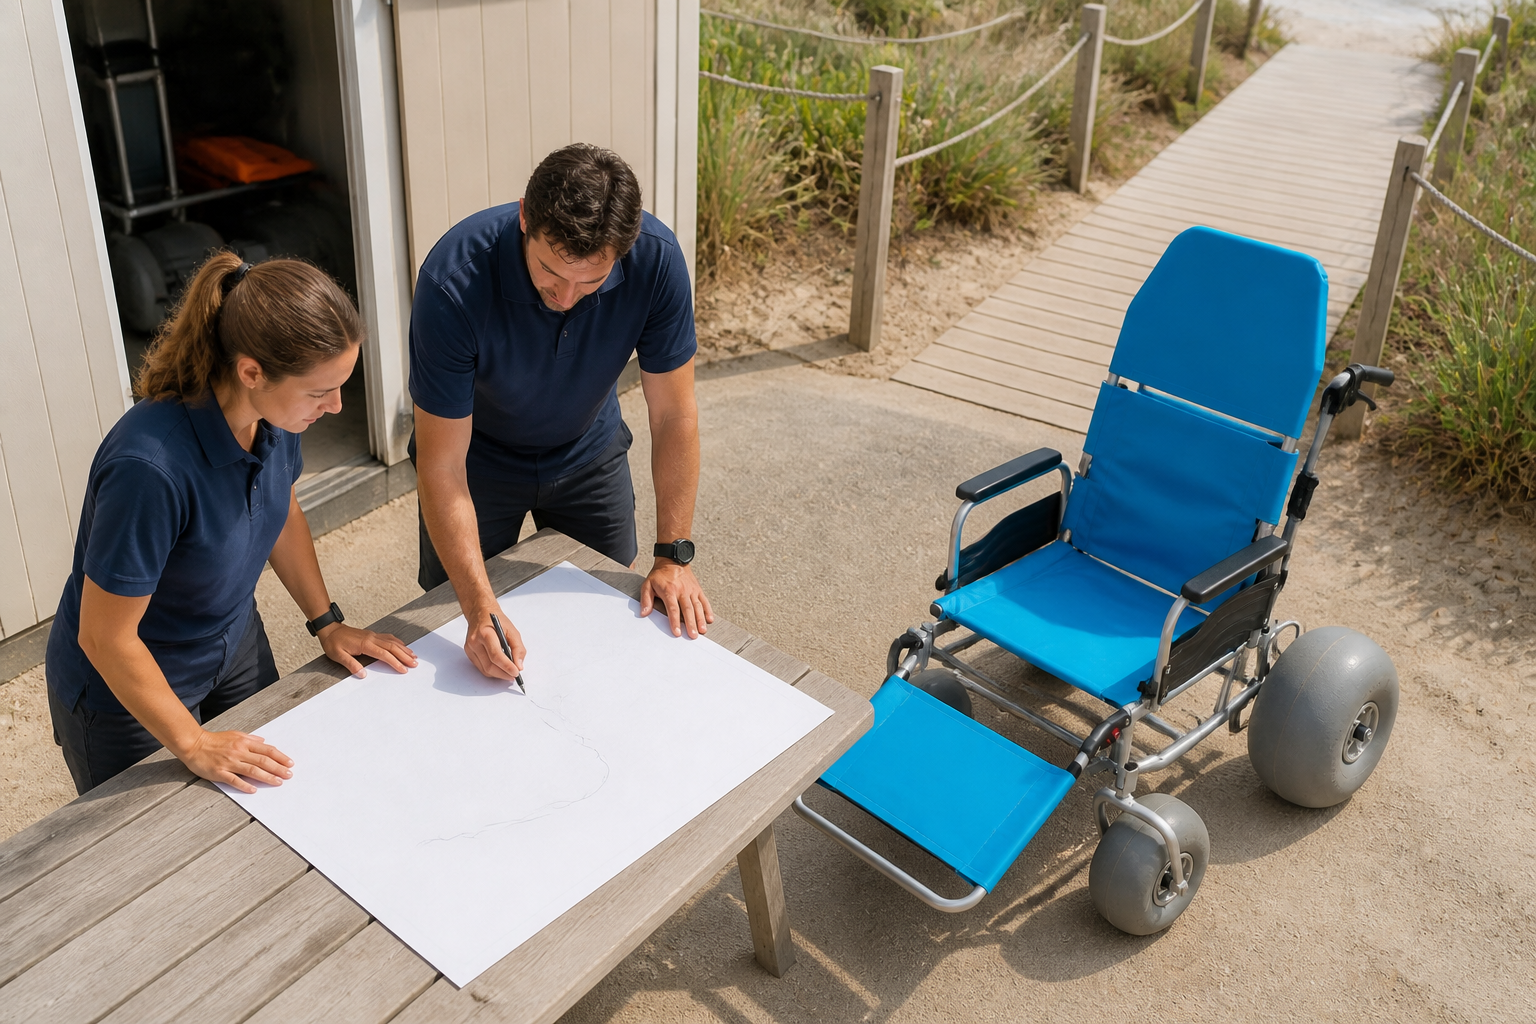
All-terrain beach wheelchair route planning should begin at the storage bay and follow every movement through return. The guest-facing sand segment is only one part of the operating path. Staff may also cross doors, service corridors, vehicle areas, boardwalk joints, wash points, and drying zones. A map that begins at the beach gate can miss the handling steps that cause delays before a booking starts. However, U.S. Access Board beach-route guidance applies to defined federal settings, so local teams must confirm which rules govern their site.
Map the path from storage to return
Here is the working frame: Walk the route in the same order staff will use it. Mark each surface change, turn, gate, handoff, and pause point. Include the return path because a chair may come back wet or sandy and should not cross a clean ready zone. Keep the map focused on observable conditions rather than legal labels.
- Start at the storage bay
- Trace the guest route
- Finish at the return zone
Key Takeaway: A full movement map reveals handling gaps that a shoreline-only sketch cannot show.
| Checkpoint | Working choice |
|---|---|
| Route segment | Record |
| Storage to gate | Doors and turns |
| Sand to return | Surface and wash path |
Walk the route at normal service pace and note every place where staff stop or change grip.
How should teams classify each route surface?
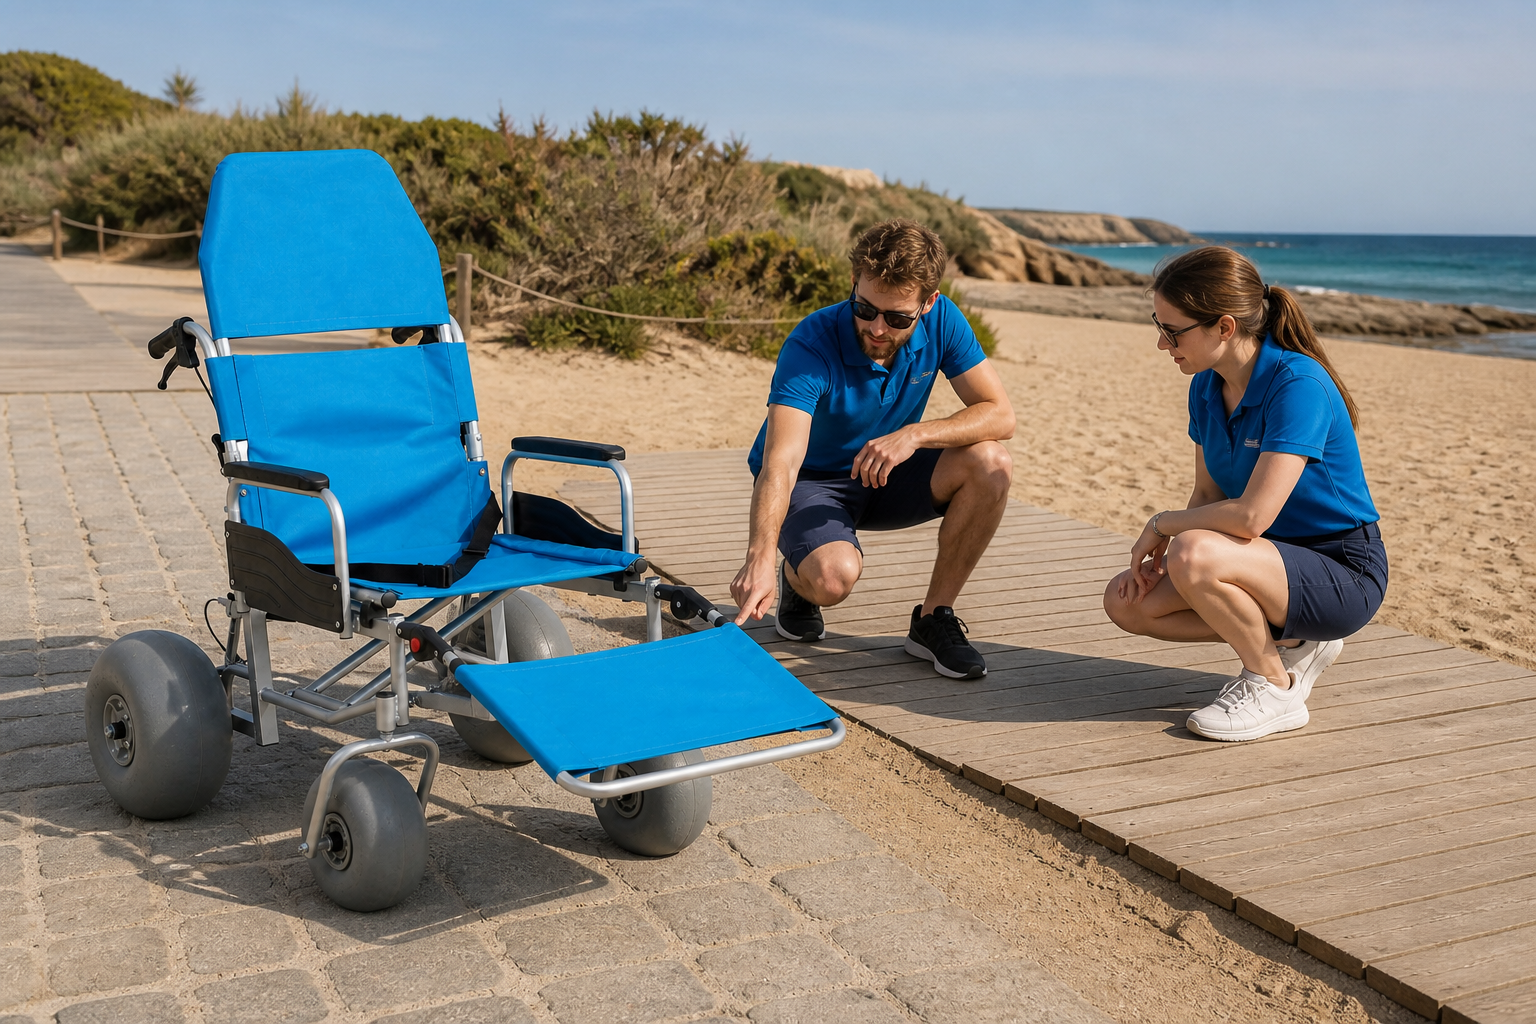
All-terrain beach wheelchair route planning should classify each surface by what staff can see and handle. A route may include smooth indoor flooring, pavement, ramp joints, timber boards, compact sand, and deep loose sand. Naming those segments gives procurement and operating teams a shared way to discuss chair movement. The all-terrain application offers useful context for mixed coastal paths. Then mark where an accessible beach mat begins, ends, or meets loose sand.
Name surfaces in operating language
Keep the labels practical: Use plain surface names, direction of travel, visible slope changes, and typical crowd conditions. Avoid promising that one wheel type will handle every site. A chair instruction manual and a dry trial should guide the operating decision. Update the surface label when erosion, repairs, or event equipment changes the path.
- Name every surface
- Mark the travel direction
- Note visible change points
Key Takeaway: Plain surface labels help teams match a chair and handling routine with the path in front of them.
| Checkpoint | Working choice |
|---|---|
| Surface cue | Working note |
| Boardwalk | Joints and turns |
| Loose sand | Checked sand segment |
Compare the map with current site conditions before each service block.
Which access points deserve a closer check?
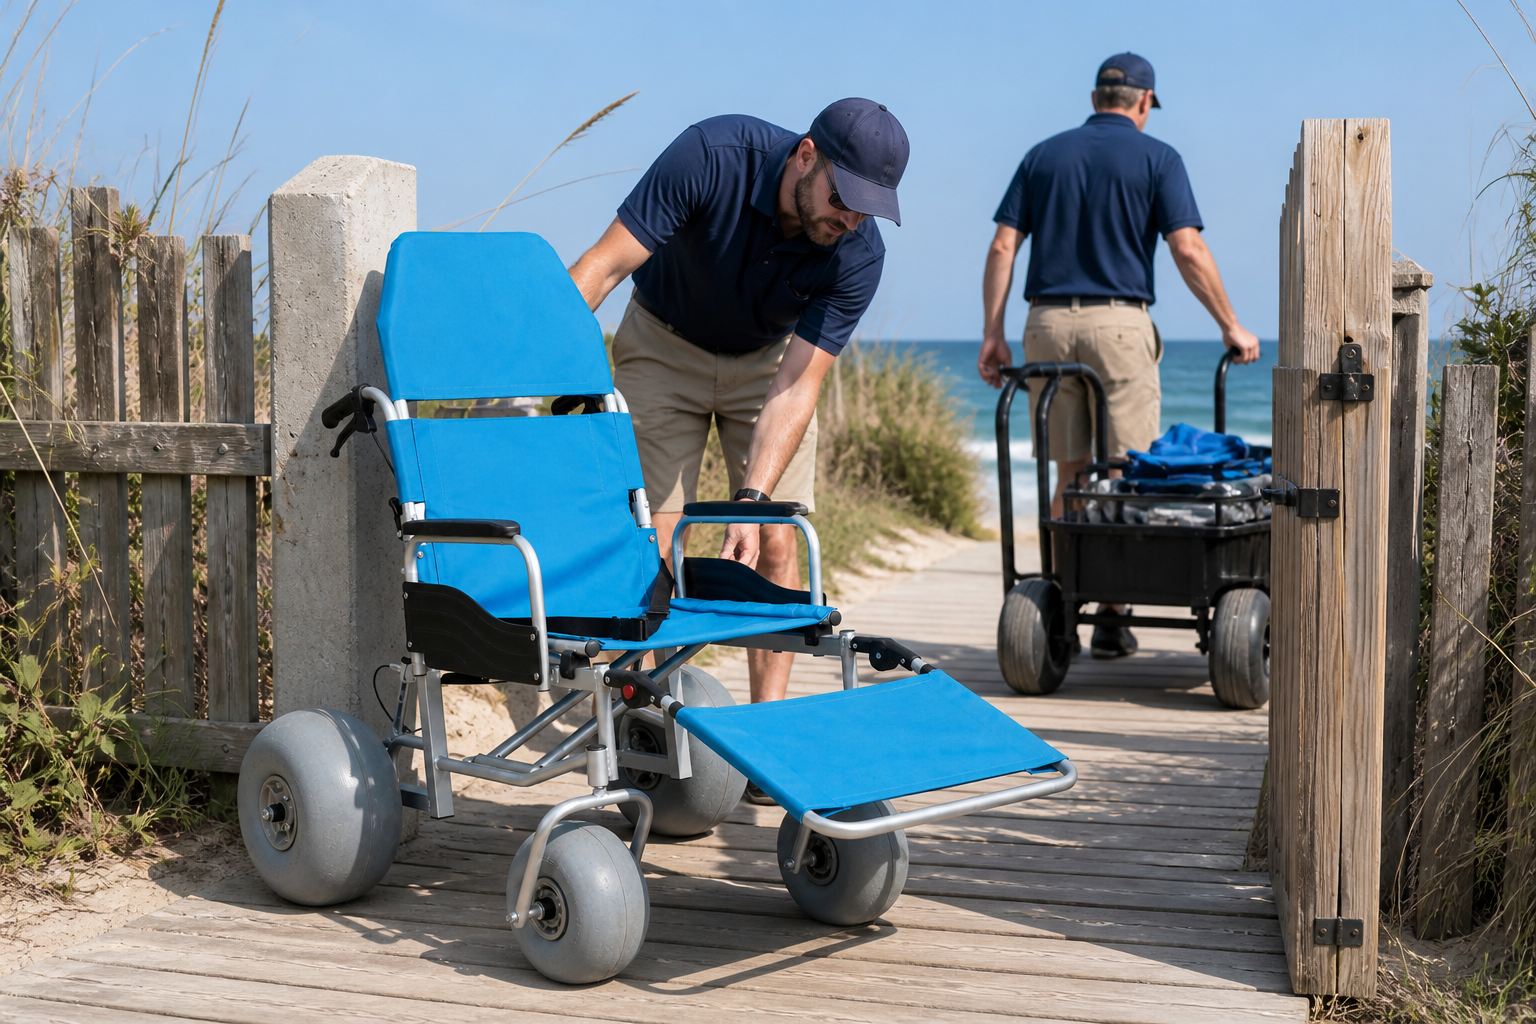
All-terrain beach wheelchair route planning should give closer attention to gates, ramp ends, sharp turns, and narrow service lanes. These points concentrate movement and can change quickly when bins, carts, signs, or guest queues appear. A route that looks open from a distance may still lack room for an attendant to stand or turn. Check both outbound and return movement because approach angles can differ.
Inspect gates, ramps, and turns
A short walk-around helps: Stand on each side of the access point and picture the complete chair footprint plus staff position. Remove movable obstacles through local site procedures, and place the route on hold when fixed conditions do not match the operating plan. Record the location so another shift does not repeat the same inspection from memory.
- View both approaches
- Check staff standing room
- Record any route hold
Key Takeaway: Closer access-point checks prevent small bottlenecks from becoming rushed chair handling.
| Checkpoint | Working choice |
|---|---|
| Access point | Check |
| Gate | Opening and approach |
| Turn | Chair and staff space |
Run an empty-chair trial through each access point before opening the route to service.
How can teams choose clear pause points?
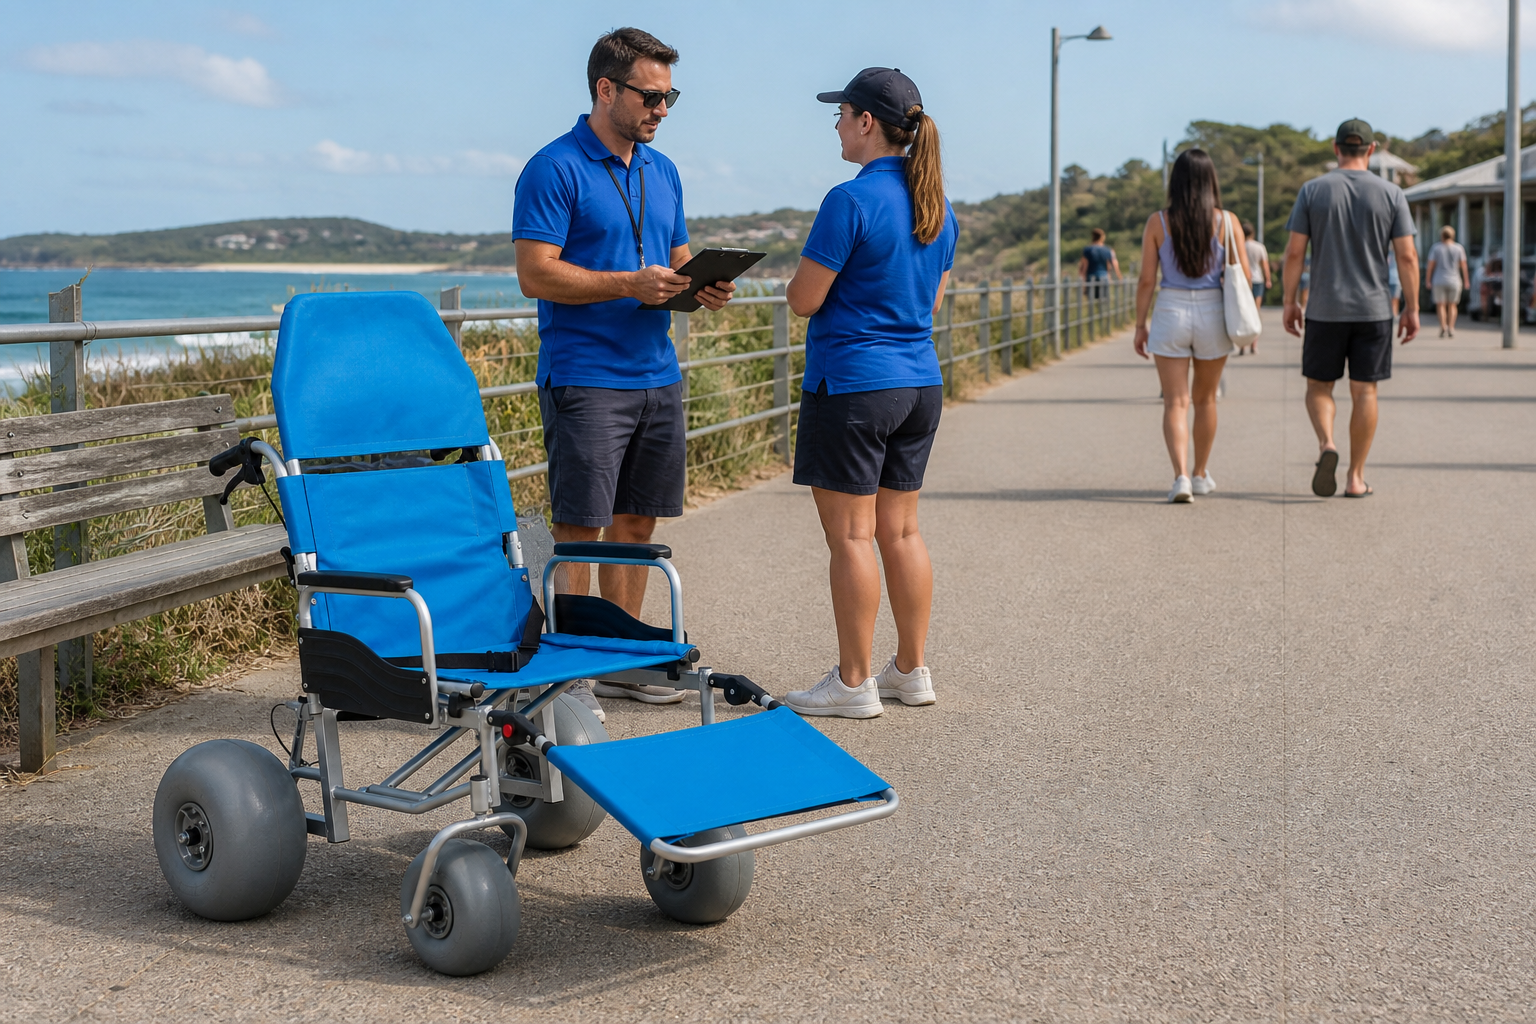
All-terrain beach wheelchair route planning should place pause points on stable ground where staff can stop without blocking traffic. A pause point supports route checks, guest communication, team handoffs, and changing beach conditions. It should offer enough room for the chair and attendants while keeping the main access lane open. Loose sloping sand or the edge of a crowded boardwalk makes a poor holding area.
Place pauses on stable working ground
The practical test is simple: Stand in the proposed location during a normal service period. Check visibility, passing space, shade or weather exposure, and the path back to the staging area. Assign one backup point in case the main location becomes crowded. Keep both points on the staff map without public claims.
- Use stable ground
- Keep the access lane open
- Name one backup point
Key Takeaway: A planned pause point gives staff a calm place to respond when the route cannot continue as expected.
| Checkpoint | Working choice |
|---|---|
| Pause need | Working cue |
| Main point | Stable and visible |
| Backup point | Clear return path |
Watch the area during a busy interval and verify that the chair does not obstruct other visitors.
What should a dry route trial include?
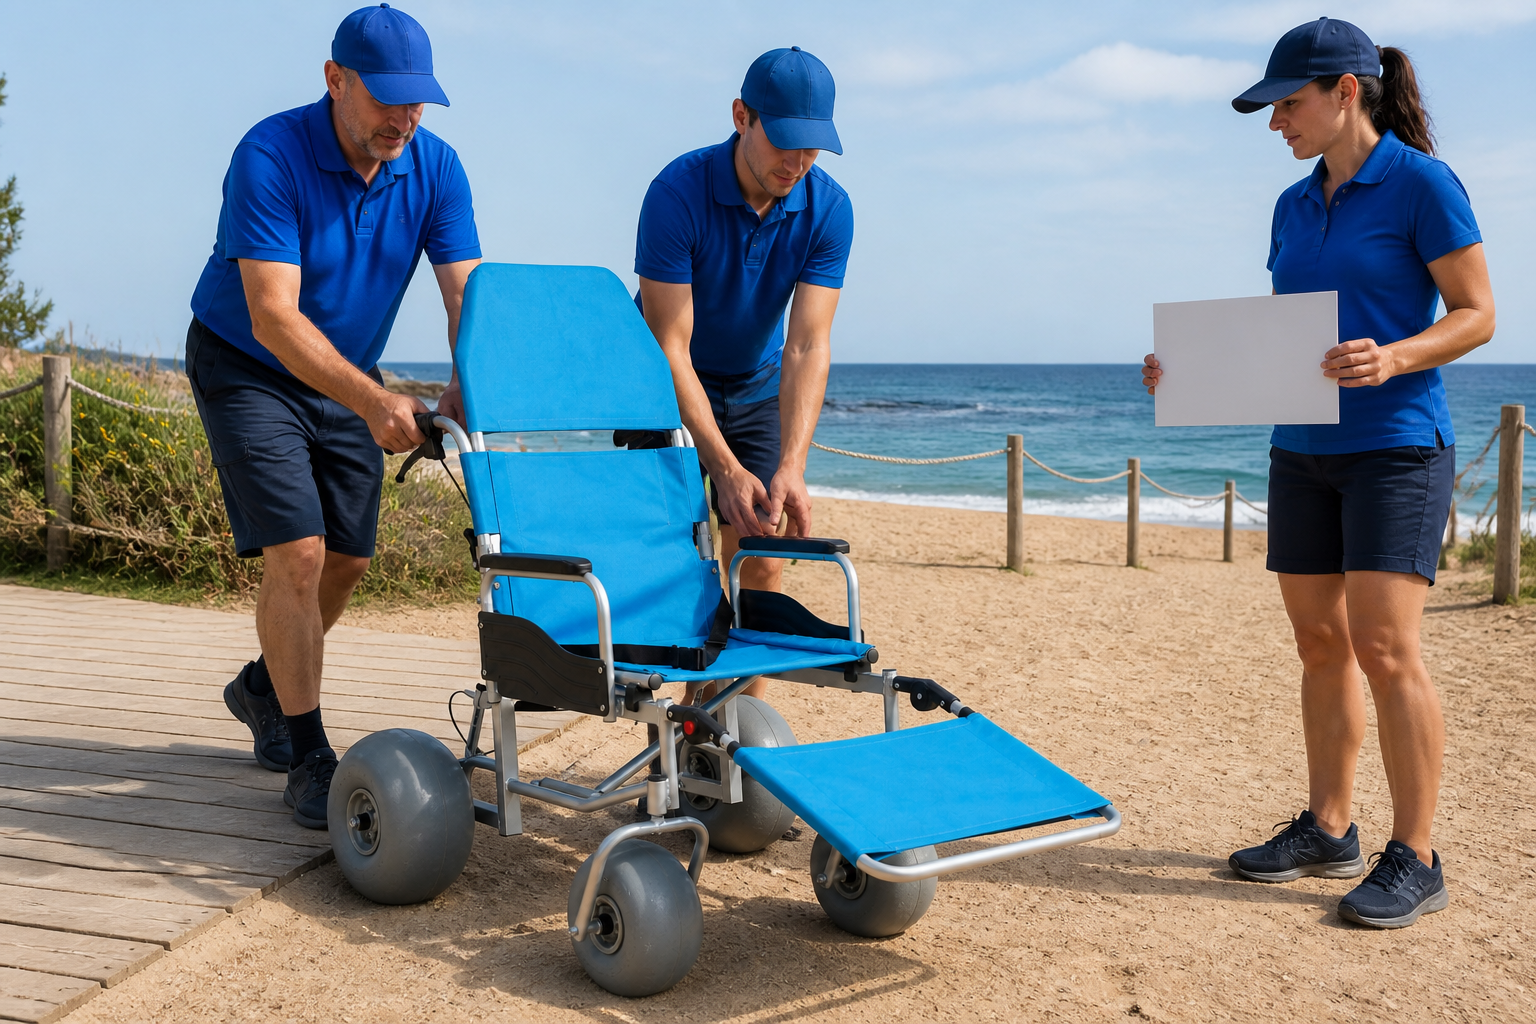
All-terrain beach wheelchair route planning should include an empty-chair trial across the complete mapped path. The trial lets staff observe grip changes, turning needs, surface boundaries, and communication points without involving a guest. Follow the user manual for chair-specific handling and use local policy for staff roles. The goal is a repeatable sequence, not a speed record. A lightweight beach wheelchair needs a separate route trial if storage or loading limits shape the service.
Test movement before a live handoff
Use the same service setup: Stage the chair as it would be prepared for a booking, assign normal staff roles, and carry the usual route card. Stop at every mapped point and compare the drawing with the site. If the chair or team cannot follow the planned sequence, revise the route before accepting that path for service.
- Use the normal staff roles
- Stop at mapped points
- Revise any unclear segment
Key Takeaway: A dry trial converts a route sketch into an operating method staff can repeat.
| Checkpoint | Working choice |
|---|---|
| Trial stage | Observation |
| Surface change | Grip and direction |
| Pause point | Space and visibility |
Repeat the trial from the return direction because the path may feel different after the chair turns around.
How should staff brief the route before use?
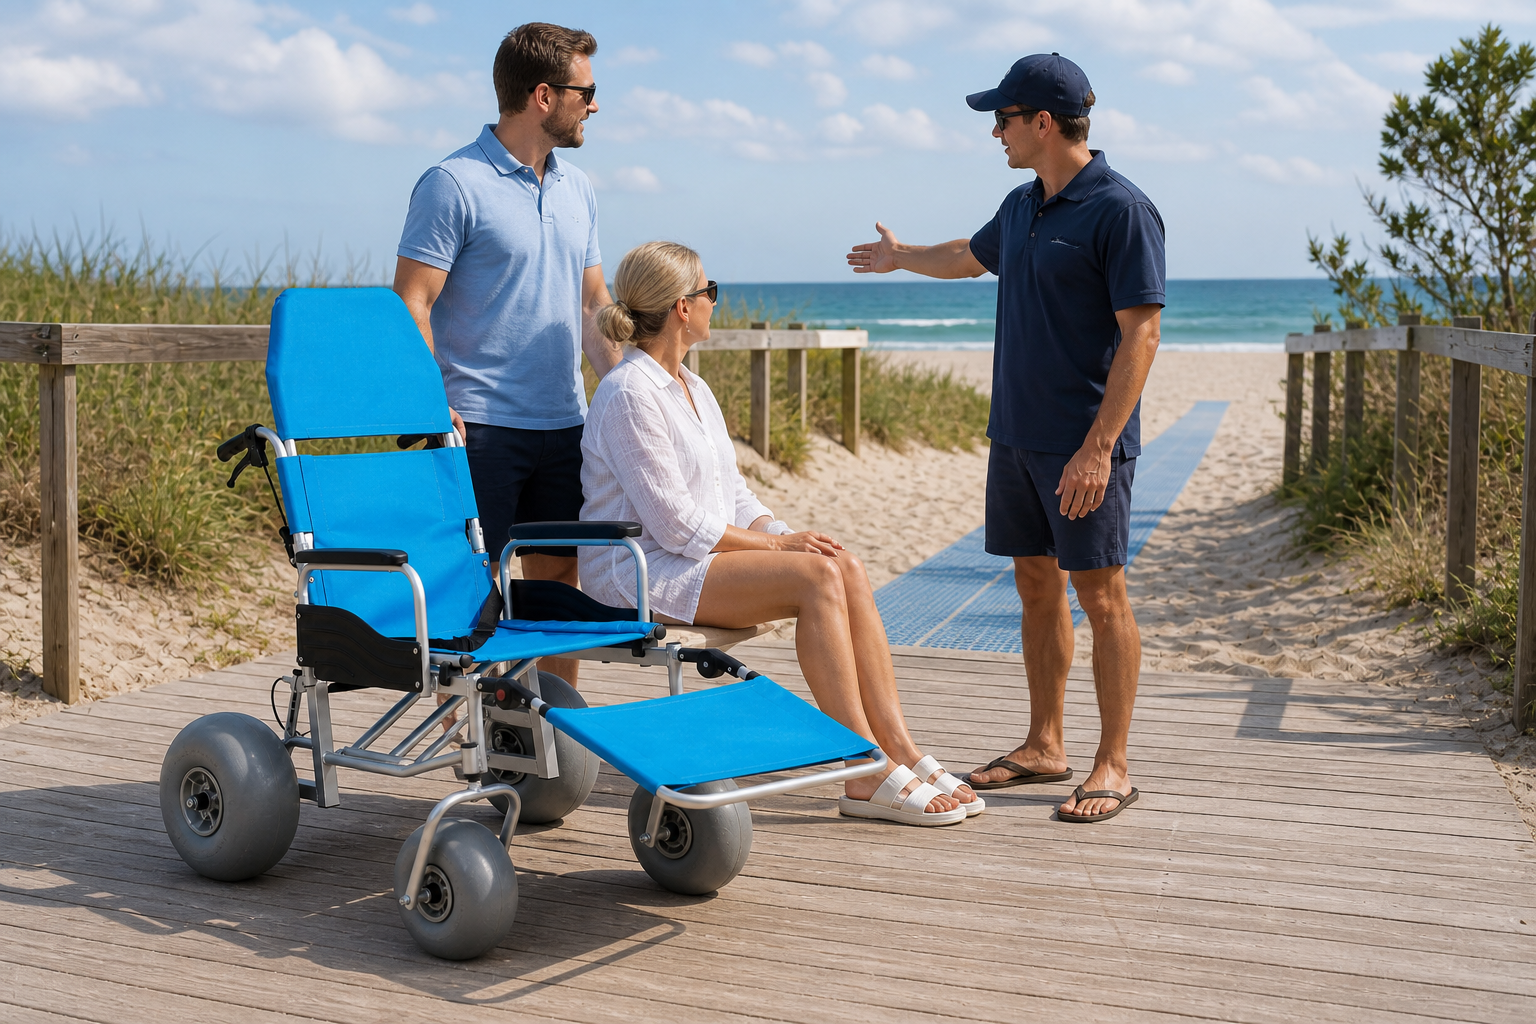
All-terrain beach wheelchair route planning should support a short briefing that states the path, staff roles, pause cues, and return point. Guests should hear where the route goes, where it stops, and how the team will respond if conditions change. Staff should invite preferences and questions without giving medical advice or making guarantees. One lead speaker keeps the message clear while other team members focus on equipment setup.
Give one plain-language route briefing
Make the briefing conversational: Point out visible landmarks rather than internal zone codes. State who will guide movement and agree on a simple pause cue. Explain any current route limit before movement begins. If the guest raises a need outside the checked plan, stop and review it rather than improvising a new path.
- Name the route end
- Confirm staff roles
- Agree on a pause cue
Key Takeaway: A short route briefing gives the guest and staff the same picture of the planned service.
| Checkpoint | Working choice |
|---|---|
| Briefing item | Plain message |
| Path | Start and end |
| Pause | Shared cue |
Listen to a practice briefing and remove local jargon that a visitor may not recognize.
When should a mapped route be paused?
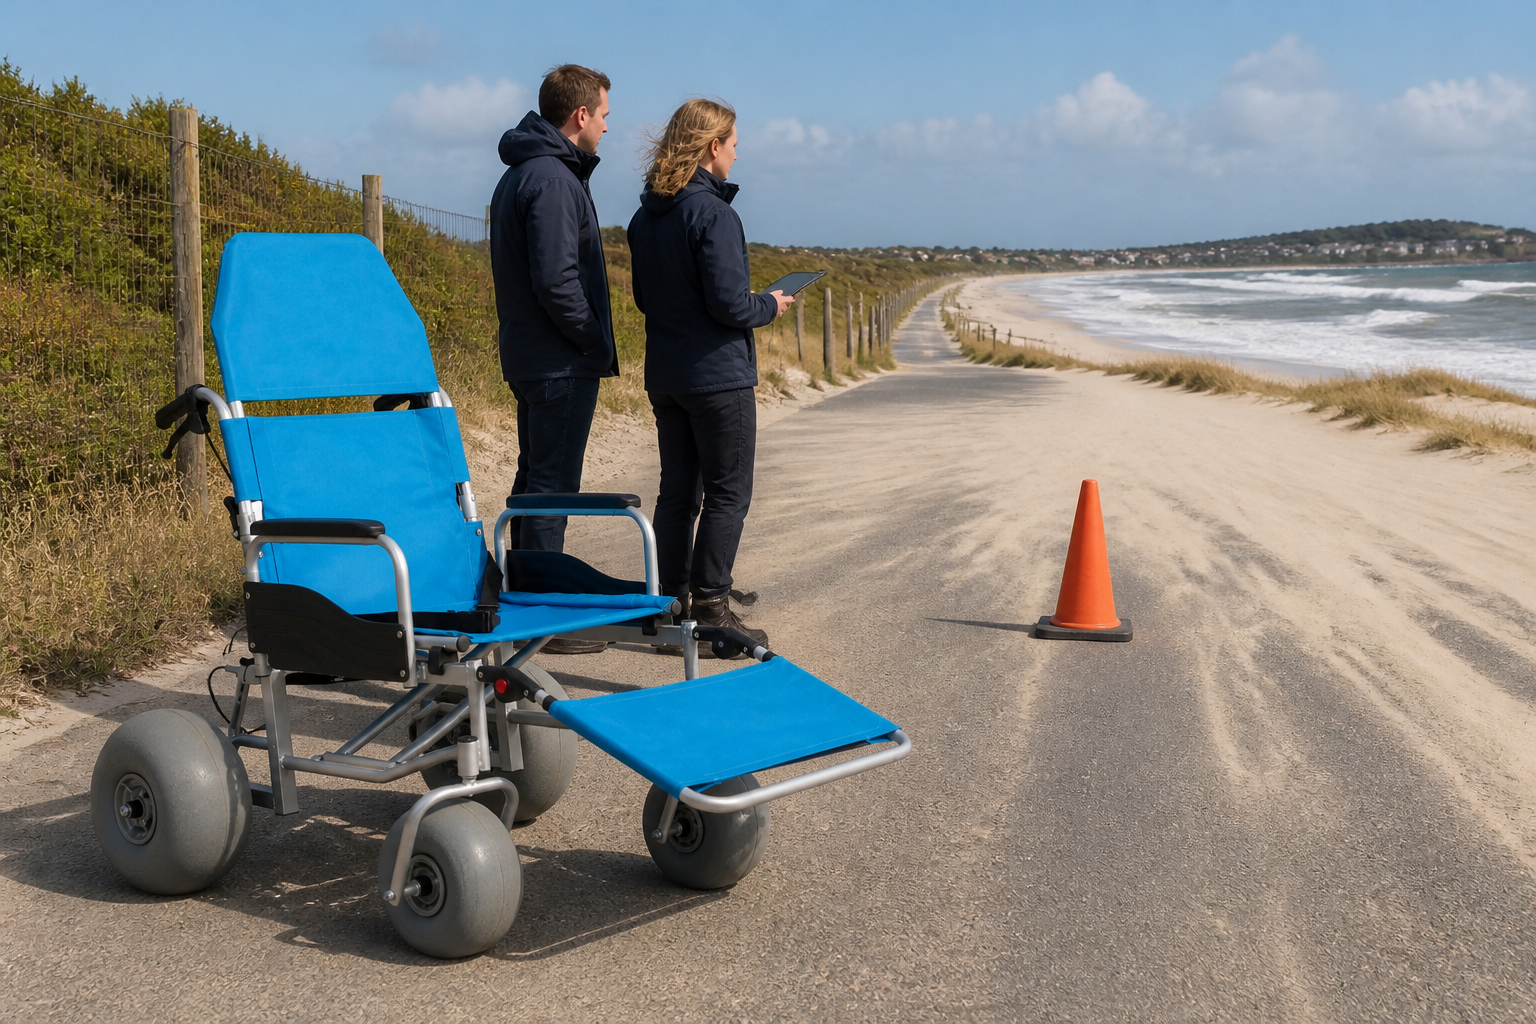
All-terrain beach wheelchair route planning should pause whenever weather, tide, erosion, crowding, or temporary work changes a mapped segment. A chair that passed a morning route trial does not make the path static for the full day. Wind can move sand over a mat edge, maintenance carts can narrow a gate, and event traffic can occupy a turn area. Staff need clear authority to stop at the prior pause point.
Pause when visible conditions change
Use a visible decision chain: Stop movement, explain the delay, protect the chair status, and send the route issue to the named shift role. That person can restore the path, approve a checked alternate, or close the segment under local policy. Record the reason and time so later staff know the map has changed.
- Stop at the prior pause point
- Report the visible change
- Record the route decision
Key Takeaway: A clear pause rule prevents pressure to continue along a path that no longer matches the map.
| Checkpoint | Working choice |
|---|---|
| Change | Response |
| Blocked gate | Hold and report |
| Surface shift | Check route again |
Use short staff scenarios to practice a calm pause message before a real interruption occurs.
How do handoffs affect the route plan?
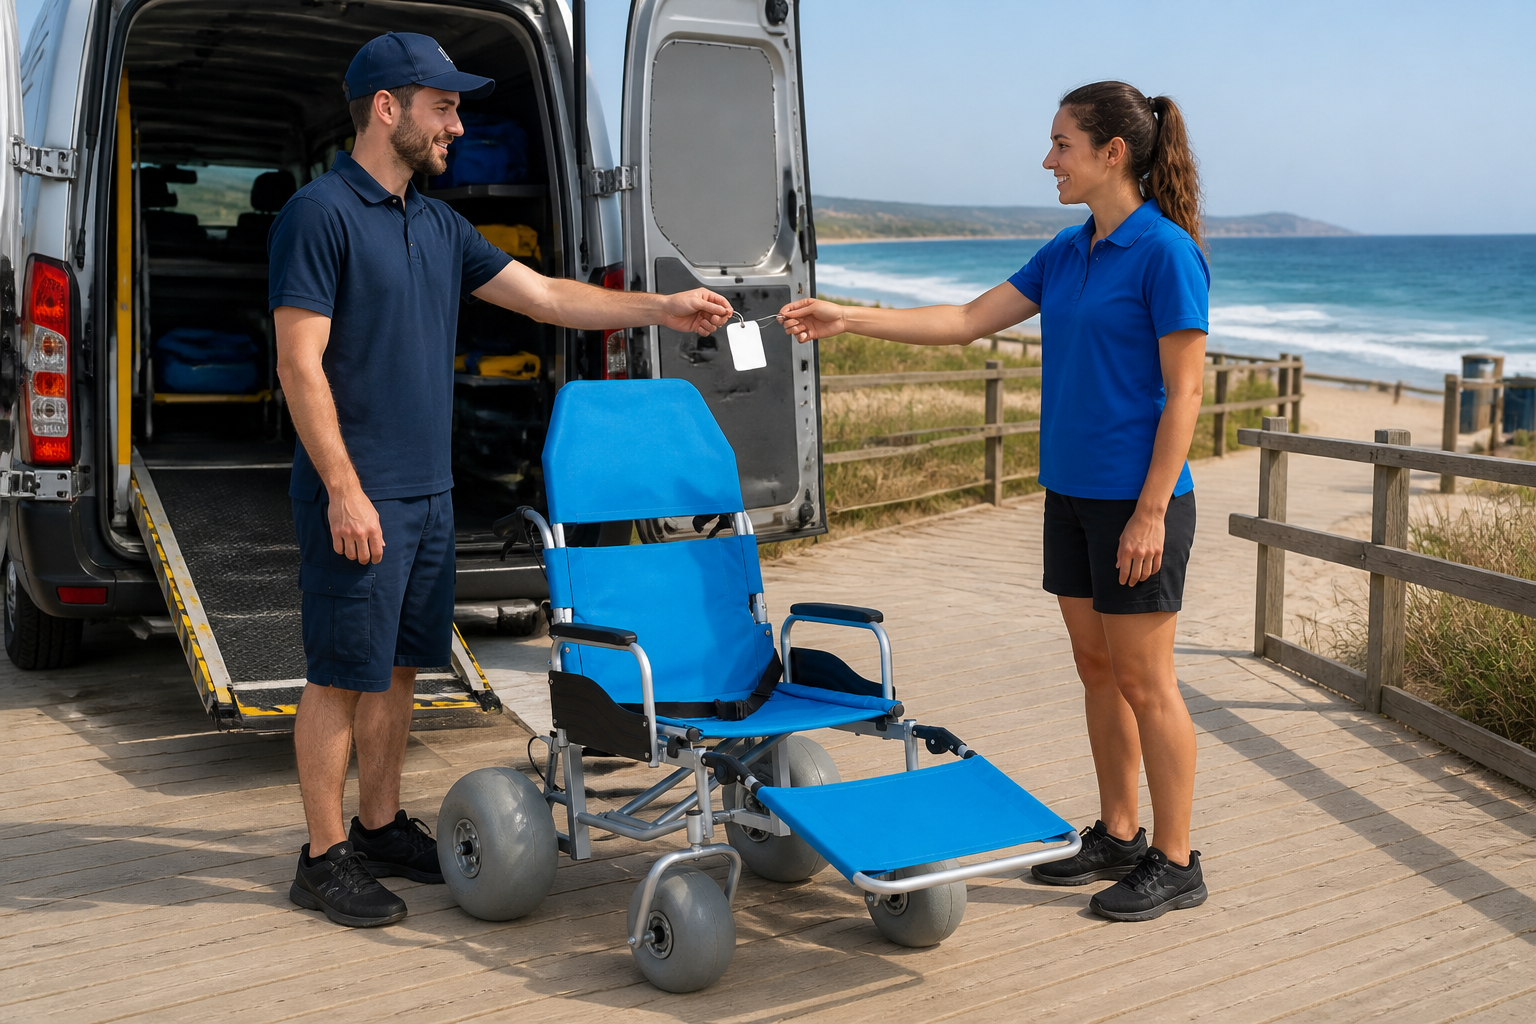
All-terrain beach wheelchair route planning should treat storage, vehicle, staging, and guest handoffs as mapped route segments. A chair can lose a clear status when one team loads it and another team receives it. Each handoff needs a location, sender, receiver, and condition cue. The project overview can help managers connect equipment movement with the wider access program.
Treat every handoff as a route segment
The status should travel with the chair: The sending role states whether the chair is ready, held, returning, or awaiting cleaning. The receiving role confirms the destination and next action before responsibility changes. Keep guest details outside visible tags. A blank or unclear status sends the chair to review rather than directly into service.
- Name sender and receiver
- State the chair status
- Confirm the next location
Key Takeaway: Mapped handoffs keep route responsibility clear across staff and work areas.
| Checkpoint | Working choice |
|---|---|
| Handoff | Confirmation |
| Storage to staging | Ready status |
| Return to wash | Cleaning status |
Follow one chair through every handoff and note where staff must ask who owns the next action.
Which route records help managers act?
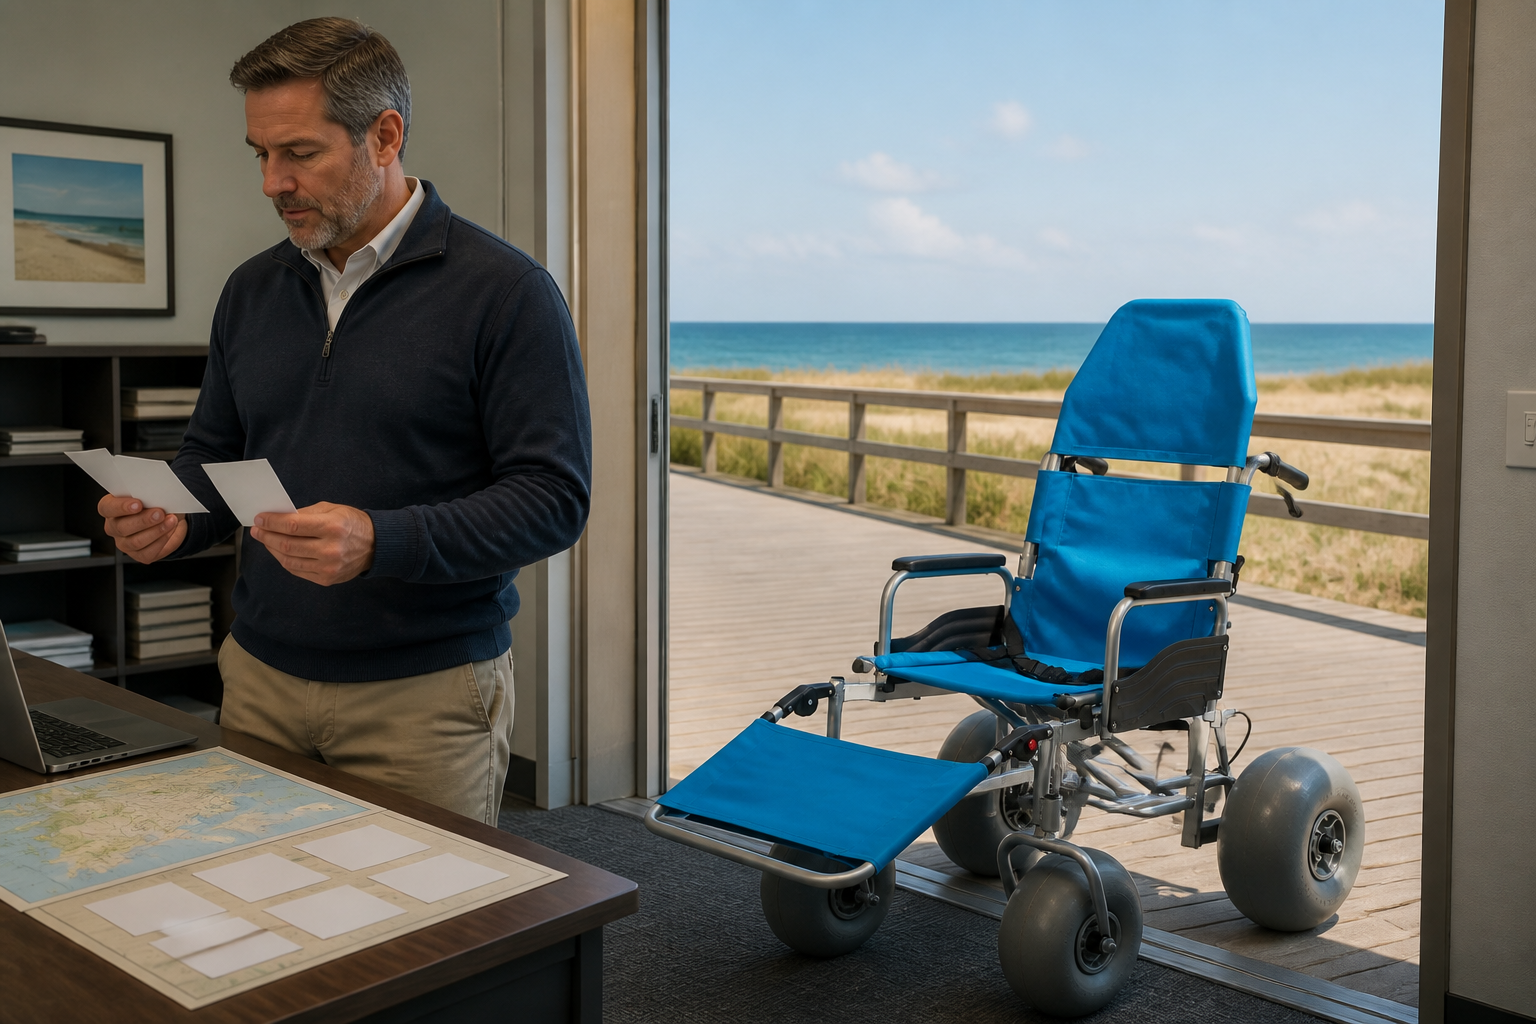
All-terrain beach wheelchair route planning should record closures, delays, surface shifts, handoff gaps, and repeated pause locations. A useful record leads to a site or workflow action. Managers do not need invented targets or dense guest profiles. They need enough detail to see whether the same gate is blocked, the same return path stays wet, or one surface boundary repeatedly needs another staff role. Use the supplier overview to prepare questions, then rely on current documents for the exact chair.
Record events that change the route
Keep the record short: Log the location, visible condition, chair status, response, and next owner. Review similar events together and choose one change, such as moving staging, adjusting the route time, or updating a handoff. Protect personal information through local policy and keep operating notes focused on equipment and site conditions.
- Log the location
- State the visible condition
- Assign the next owner
Key Takeaway: Short event records connect recurring route friction with a practical management response.
| Checkpoint | Working choice |
|---|---|
| Record field | Decision use |
| Pause location | Route review |
| Handoff gap | Role update |
Review records beside the current map so every action points to a real segment.
How can teams keep the route plan current?
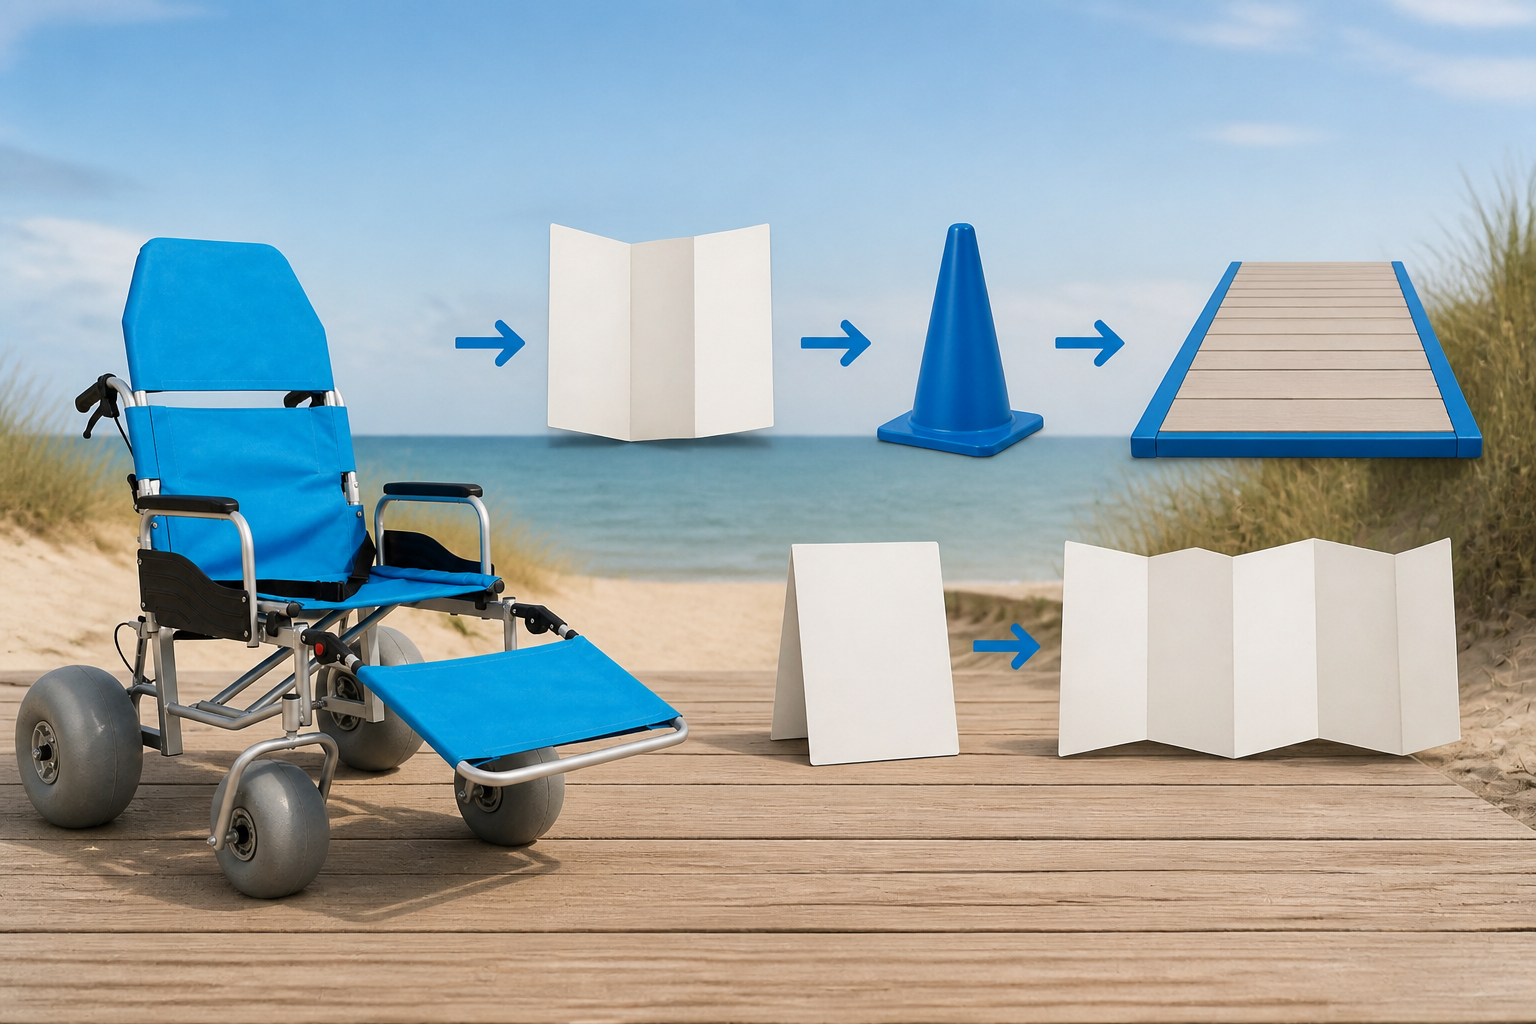
All-terrain beach wheelchair route planning stays current through a repeatable map, trial, operate, record, and revise loop. The loop should respond to visible site changes and staff observations, not to assumptions. Store the active map where every shift can find it and archive old versions according to local policy. A changed route needs another dry trial before it becomes the working path.
Use a simple review loop
Here is the full loop: Map the complete movement, test the empty chair, open the route, record exceptions, and revise one segment at a time. Name the role that approves the working version. The process stays readable when teams avoid extra metrics and focus on decisions tied to actual route events.
- Map the full path
- Run an empty-chair trial
- Revise recorded problems
Key Takeaway: A visible review loop keeps the operating map aligned with changing coastal conditions.
| Checkpoint | Working choice |
|---|---|
| Loop stage | Output |
| Trial | Checked path |
| Review | Revised segment |
Use this object-based flowchart during shift briefings and connect each object with the matching route task.
Closing Guidance
A workable route joins the chair, the site, and the staff routine in one visible plan. Map the full path, test it without a guest, set pause points, and revise the map whenever the beach changes. Teams planning a coastal access service can contact us today with questions about their access route or equipment mix.
FAQ
Can I use one route plan for every beach chair?
No. Assign each chair to paths that match its handling, storage, and operating instructions, then record any local limits.
What’s the best place to start a route map?
Start at the storage bay. The route must cover every movement before and after the guest-facing sand segment.
How do I know if a route needs another check?
Check again after weather, tide, crowd, maintenance, event, or access-point changes alter any mapped segment.
Can I mark a route as legally accessible myself?
No. Use the map as an operating tool and seek qualified local review for legal or regulatory determinations.
What should staff record after a route pause?
Record the location, visible condition, action taken, chair status, and role responsible for the next review.