
A useful accessibility beach mat installation guide turns a roll of pathway material into a controlled route with named checks, handoffs, and pause rules. Beach teams can lose time when parking connections, surface preparation, roll direction, edge inspection, visitor traffic, weather response, or daily cleaning remain separate conversations. A clear B2B guide joins those tasks without pretending one layout suits every coastline. This article covers route goals, site review, equipment staging, surface preparation, controlled unrolling, edge checks, opening inspection, weather decisions, records, and the final operating loop. Product instructions and qualified local review remain the authority for hardware, anchoring, and compliance questions.
What access goal should the mat route serve?

An accessibility beach mat installation guide should begin with a specific path objective from a firm access point to a defined beach destination. For example, the destination may be a staffed seating area, equipment station, or another approved service point. A vague goal such as reaching the beach can produce a route that ends before the visitor needs it or crosses an active work lane. Name the users and mobility equipment the site plans to support without making universal access claims. For example, U.S. Access Board beach-route guidance describes federal route requirements, but local reviewers must confirm what applies at a specific site.
Define the complete path objective
Write the route brief: State the starting surface, destination, operating period, staff owner, and planned response when conditions change. However, keep legal determinations outside the operating brief unless qualified local reviewers have provided them. The brief should guide site work, product selection, opening checks, and daily visitor communication.
- Name the firm starting point
- Define the service destination
- Assign the route owner
Key Takeaway: A clear path objective keeps site preparation and daily operations focused on the same outcome.
| Checkpoint | Working choice |
|---|---|
| Route item | Working choice |
| Start | Firm access point |
| Destination | Named service area |
Then walk from start to destination and confirm that each segment supports the stated operating goal.
Which site conditions need review before installation?
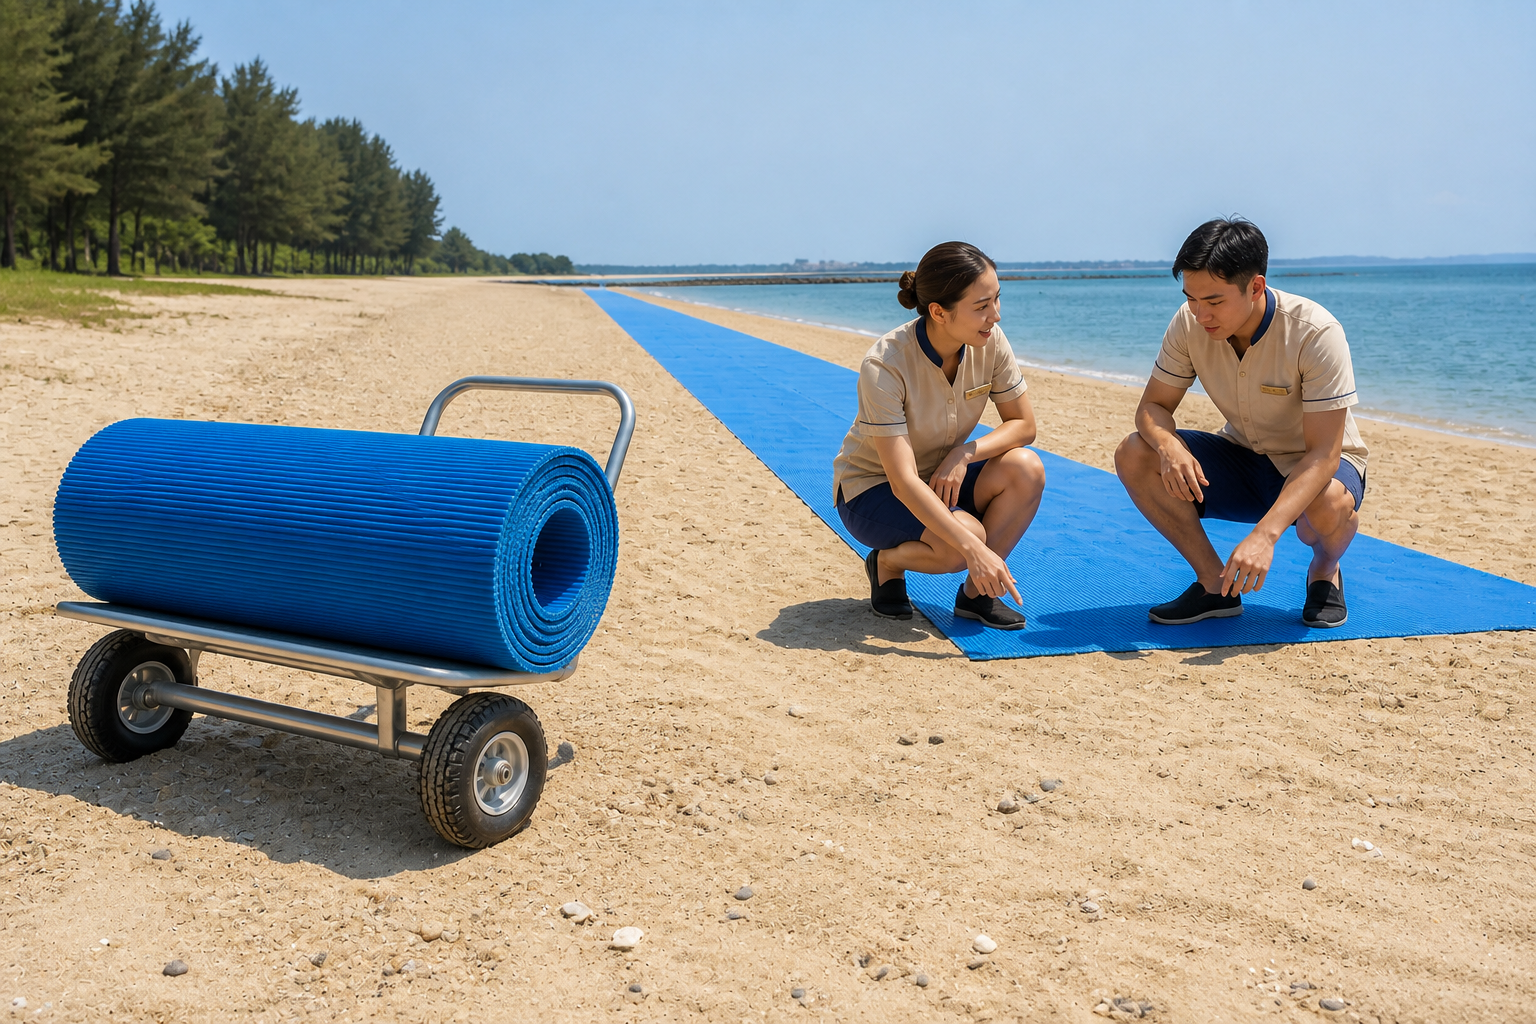
An accessibility beach mat installation guide should review slope changes, sand movement, drainage, access width, vehicle traffic, pedestrian flow, and shoreline exposure. The mat cannot correct every site problem, and seasonal conditions may alter the planned line. The beach mat installation application gives teams a useful project context while local specialists handle formal site decisions. Then compare the route with the wider beach wheelchair range so mat width and equipment movement are reviewed together.
Check the route as one connected surface
Look beyond the mat width: Inspect the approach, deployment area, side clearance, destination, and removal path. Note erosion, soft pockets, standing water, buried objects, service vehicles, and points where the route crosses another activity. Then stop planning at any unclear condition until the responsible local role reviews it.
- Inspect start and destination
- Check side clearances
- Map traffic crossings
Key Takeaway: A connected site review prevents a good mat segment from ending at an unsuitable approach or destination.
| Checkpoint | Working choice |
|---|---|
| Site condition | Review |
| Sand and drainage | Visible route state |
| Traffic crossing | Operating control |
Then repeat the walk after a tide or weather change to see which observations remain stable.
How should equipment and staff be staged?
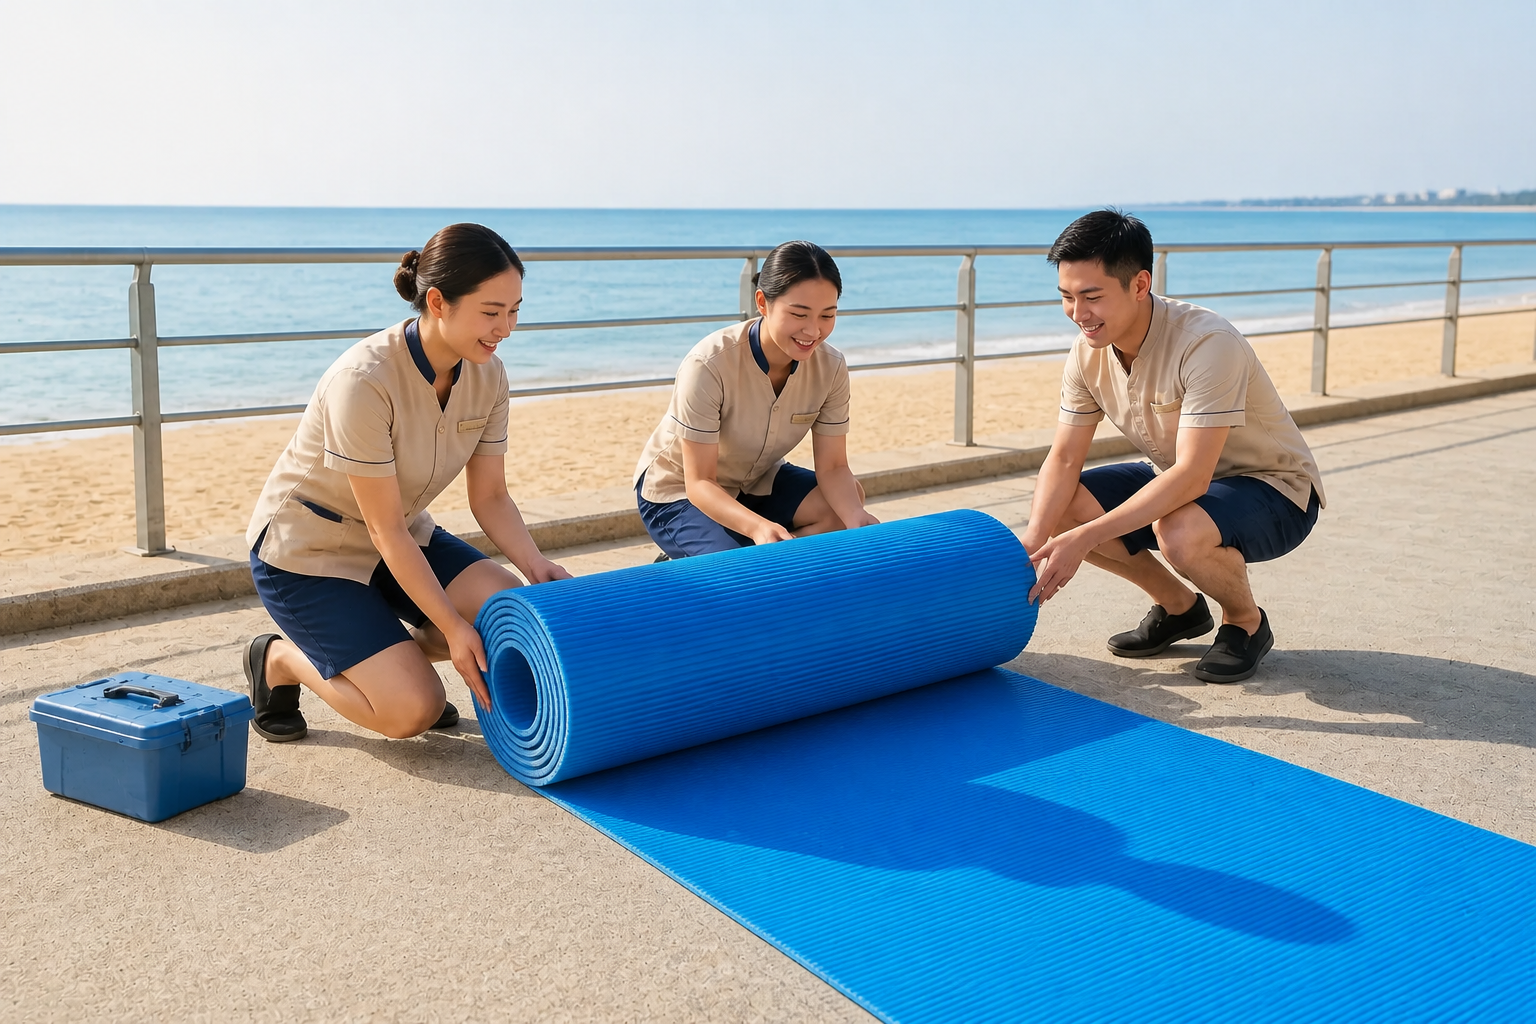
An accessibility beach mat installation guide should stage the roll, tools, staff, and route barriers on firm ground beside a clear work lane. A heavy roll placed in visitor traffic can create rushed handling before deployment begins. Staff need room to position the roll, follow the product method, and communicate without stepping backward into a busy path. Use the handling team and equipment named by the supplier and local policy. A supplier overview may frame product questions, while the exact mat instructions control deployment.
Set a controlled work zone
Prepare before the roll moves: Clear the work area, place permitted tools where staff can reach them, confirm roles, and protect the prepared route from crossing traffic. Keep loose hardware in a controlled container. If the product or site calls for lifting equipment, the team should follow that method rather than improvise manual handling.
- Clear the work lane
- Confirm staff roles
- Control permitted tools
Key Takeaway: A staged work zone gives staff space to deploy the mat in the planned direction.
| Checkpoint | Working choice |
|---|---|
| Staging item | Position |
| Mat roll | Firm start point |
| Tools | Controlled side zone |
Next, stand at each staff position and check that movement can occur without crossing the visitor lane.
How should the sand surface be prepared?

An accessibility beach mat installation guide should prepare the planned sand line by removing visible debris, smoothing abrupt pockets, and following the product surface method. The mat follows the ground below it, so hidden ridges or objects can appear as surface changes after unrolling. Preparation should stay within environmental rules and site authority. Teams must not reshape protected areas or disturb local features without permission.
Create a clean and stable route bed
Use a section-by-section check: Work from the firm starting point toward the destination and inspect a manageable segment before moving forward. Remove permitted debris, address loose material according to local procedure, and keep the route width consistent. Pause if drainage, erosion, wildlife controls, or protected zones conflict with the plan.
- Start at the firm edge
- Clear permitted debris
- Pause at protected conditions
Key Takeaway: A prepared route bed helps the mat lie in the condition its daily checks expect.
| Checkpoint | Working choice |
|---|---|
| Preparation cue | Response |
| Visible debris | Remove if permitted |
| Abrupt sand pocket | Review under site method |
Then view the prepared line from both directions because low spots can hide from one angle.
How can teams unroll the mat in control?

An accessibility beach mat installation guide should unroll the mat in a controlled direction with clear staff commands and frequent alignment checks. The supplier method controls handling, orientation, and any approved attachment details. The installation project example can help buyers picture the operating setting without replacing site instructions. Staff should keep hands and feet clear of the moving roll.
Follow a paced deployment sequence
Stop at short checkpoints: Confirm the leading edge, begin the roll under the named lead caller, and pause before the mat drifts from the prepared line. Check side clearance and surface contact, then continue. A short controlled sequence is easier to correct than a full roll deployed quickly in the wrong position.
- Confirm the leading edge
- Use one lead caller
- Pause for alignment checks
Key Takeaway: Paced unrolling helps the team keep the mat aligned with the prepared route.
| Checkpoint | Working choice |
|---|---|
| Deployment cue | Team action |
| Ready | Confirm positions |
| Pause | Check alignment |
Next, practice the staff commands with the roll secured before the live deployment begins.
What edge and joint checks belong after deployment?

An accessibility beach mat installation guide should inspect the leading edge, side edges, terminal edge, and every product-approved joint before opening the path. A small curl, gap, overlap, or material buildup can change the route people encounter. Staff should follow supplier instructions for any connectors or anchoring system and should not invent hardware. Walk both sides so the complete perimeter remains visible.
Inspect the full perimeter and every connection
Use the same order each time: Begin at the firm access point, follow one side to the destination, inspect the end, and return along the other side. Touch or adjust components only as the product method allows. Place the route on hold when an edge or joint cannot be returned to the checked condition.
- Check the leading edge
- Inspect both side edges
- Review the end and joints
Key Takeaway: A consistent perimeter walk makes edge and joint conditions easier to compare across shifts.
| Checkpoint | Working choice |
|---|---|
| Check point | Working state |
| Side edge | Flat and visible |
| Joint or end | Product method followed |
Then have another staff member repeat the walk from the opposite direction before opening day.
How should the route open for daily use?

An accessibility beach mat installation guide should require a daily opening walk that checks the approach, surface, edges, joints, destination, and return path. Overnight wind, cleaning work, foot traffic, or sand movement can change a route even when the mat stayed in place. Staff should also confirm that signs, carts, and service equipment do not narrow the path. Record ready, hold, or closed status through local policy.
Complete an opening walk before visitors enter
Walk the user-facing line: Start on the firm approach, move along the center, inspect edges from both sides, and finish at the service destination. Correct only conditions within staff authority. Send hardware, environmental, or site questions to the responsible role before changing route status.
- Check the firm approach
- Inspect surface and edges
- Confirm the destination
Key Takeaway: A daily opening walk confirms that the installed path still matches the active route plan.
| Checkpoint | Working choice |
|---|---|
| Opening point | Decision |
| Approach and mat | Ready or hold |
| Destination | Open and clear |
Then use a fixed walk order so a skipped segment is obvious during shift handoff.
When should weather change the installation plan?

An accessibility beach mat installation guide should use site-specific pause, closure, or removal rules when weather and shoreline conditions change. Wind, water, erosion, or an official warning can alter the route or the safe handling task. The beach access project portfolio helps managers place the mat within a wider equipment plan, while product instructions and local authority control the weather response. If water entry also belongs in the program, review a floating beach wheelchair under its own operating boundary.
Use named pause and removal rules
Decide before the forecast becomes urgent: Name who monitors conditions, who changes status, where equipment moves, and how staff keep visitors away from the work zone. Do not wait for the mat to shift before reviewing the plan. After the event, repeat the site review and deployment checks rather than assuming the prior route remains suitable.
- Name the weather monitor
- Define pause or removal authority
- Plan the post-event review
Key Takeaway: A written weather rule gives staff a calm response when the route or handling conditions change.
| Checkpoint | Working choice |
|---|---|
| Weather cue | Response |
| Route change | Pause and review |
| Removal decision | Follow named authority |
Next, run a tabletop drill so every shift knows the status message and equipment destination.
Which records support reliable mat operations?

An accessibility beach mat installation guide should record opening status, edge issues, cleaning, weather actions, closures, and the role responsible for reopening. A short record helps managers see repeated sand buildup, recurring edge movement, or delays at a traffic crossing. Avoid invented utilization figures and unnecessary visitor data. The record exists to support a visible route action, product review, or staff handoff.
Log route status and corrective actions
Keep every entry factual: Write the location, observed condition, status, action, and next owner. Attach a local photo only when policy permits it. Review similar entries together and revise the route, cleaning time, work zone, or inspection method when the pattern supports a change.
- Record the location
- Describe the visible condition
- Assign the next owner
Key Takeaway: Factual route records connect daily mat conditions with accountable operating changes.
| Checkpoint | Working choice |
|---|---|
| Record field | Decision use |
| Edge issue | Inspection response |
| Weather action | Reopening review |
Then compare the log with the active route drawing so actions stay tied to real locations.
How does the complete installation loop work?
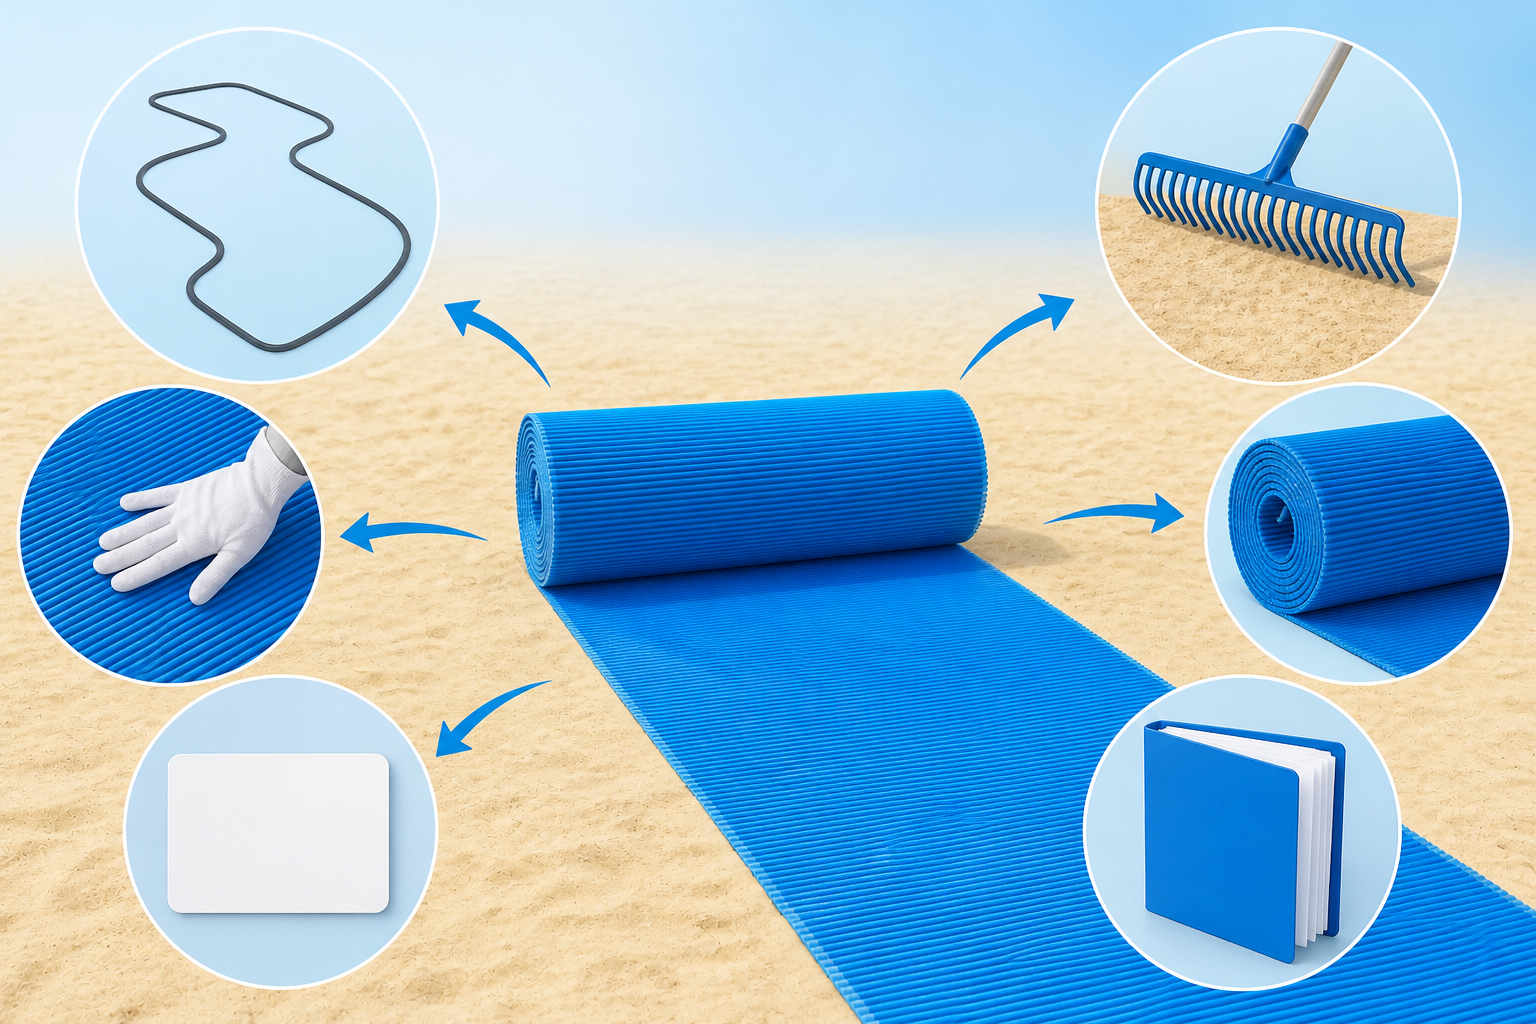
An accessibility beach mat installation guide works through a repeatable plan, prepare, deploy, inspect, operate, record, and review loop. Each stage produces a visible output for the next staff role: an approved route brief, prepared line, controlled deployment, opening status, operating record, and revised plan. The loop should stay responsive to coastal change and product instructions.
Repeat plan, deploy, check, operate, and review
Use the loop as the shift model: Plan the route, prepare the site, stage the team, deploy under the product method, inspect edges, open through a recorded decision, and review every exception. Keep compliance claims, invented data, and unsupported hardware out of the workflow. A concise loop is easier for managers to audit and staff to repeat.
- Plan and prepare
- Deploy and inspect
- Operate and review
Key Takeaway: A connected installation loop keeps the mat route, staff decisions, and site conditions aligned.
| Checkpoint | Working choice |
|---|---|
| Loop stage | Output |
| Deploy and inspect | Checked path |
| Operate and review | Updated plan |
Next, use this object-based flowchart in the installation brief and point each object to its working document.
Closing Guidance
A reliable mat route starts with a defined access goal and stays useful through preparation, controlled deployment, edge checks, weather rules, cleaning, and records. Keep the active plan tied to the real shoreline rather than a fixed assumption. Teams planning a beach access path can contact us today with questions about their site and equipment mix.
Answer common installation questions
FAQ
Can I install a beach mat without a site review?
No. Review the full route, surface, traffic, drainage, shoreline changes, and local requirements before deployment.
What’s the best direction for unrolling the mat?
Follow the product plan and site method. Use a controlled direction that keeps staff clear of the roll and preserves the prepared route.
How do I know if a mat edge needs attention?
Pause use when an edge lifts, curls, shifts, separates, or collects material in a way that changes the checked route.
Can the mat stay out during severe weather?
Not without a site-specific decision. Follow product instructions, local policy, and the named weather removal or pause plan.
What should the daily installation record include?
Record route condition, edge checks, cleaning, weather actions, hold reasons, and the role responsible for reopening.